• When you click on links to various merchants on this site and make a purchase, this can result in this site earning a commission. Affiliate programs and affiliations include, but are not limited to, the eBay Partner Network.

Don's 1969 Charger Restoration

More old metal removal

Removed what was left of the pass side quarter.
P1010095.jpg

P1010100.jpg

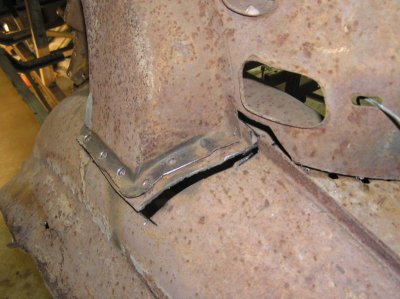
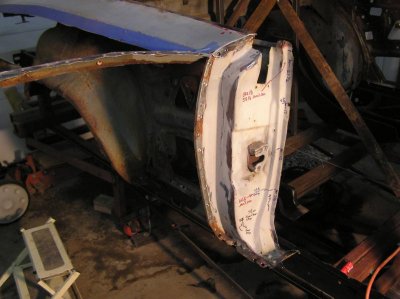
Then I removed the door jam or lock pillar, and the rear window support.
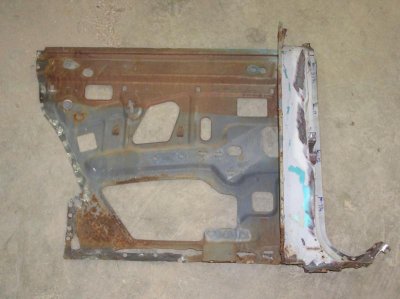
P1010103.jpg

P1010104.jpg

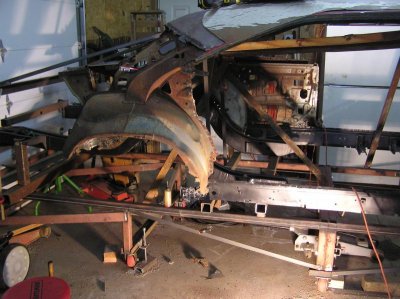
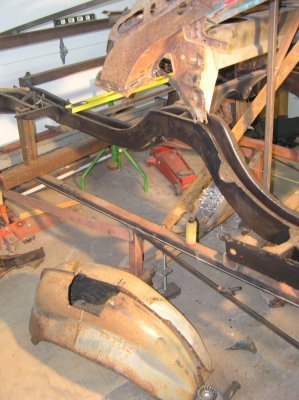
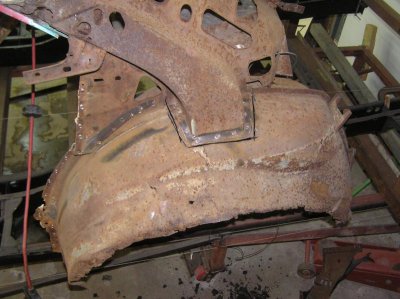
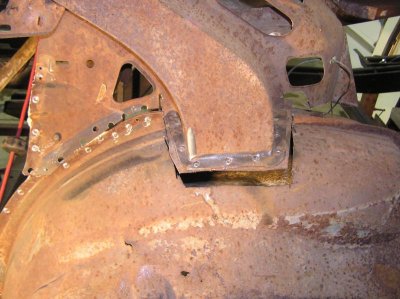
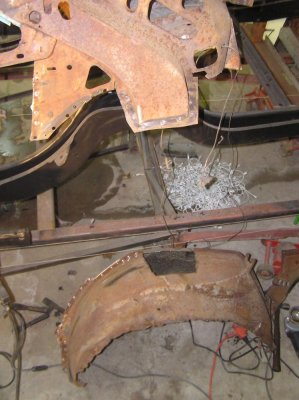
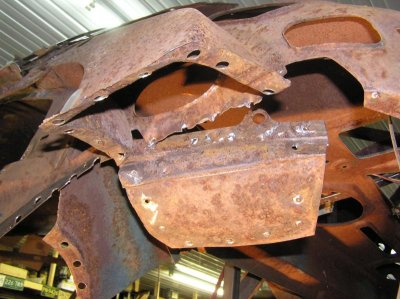
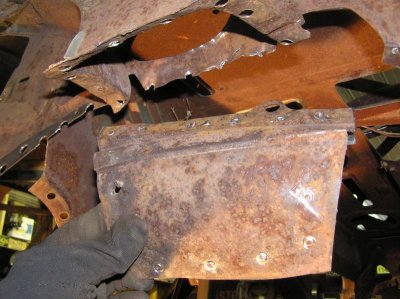
Next I got those nasty rear wheelhouses out!
Here you can see where I spot drilled
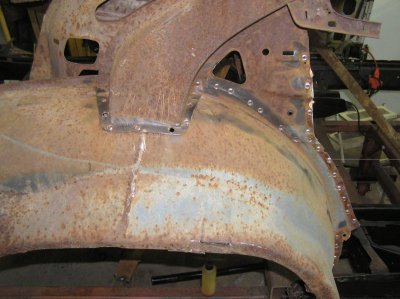
P1010111.jpg

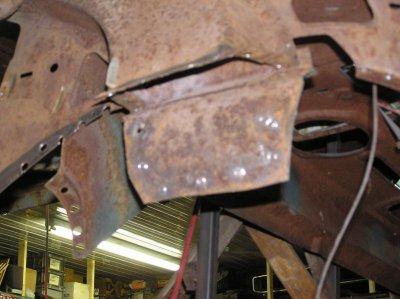
I used the cutoff wheel from inside the wheelhouse and cut around the roof support
I did it this way because there are about 5 or 6 spotwelds attaching the wheelhouse lip to the roof support underneath the package tray. And I could not get to them! Doing it this way allowed me to get everything out of my way, and then I just peeled back what was left under the roof support to get to the spot welds.
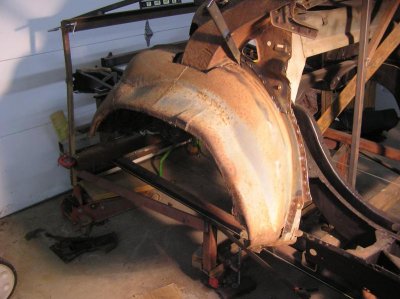
P1010136.jpg

Until the the wheelhouse separated!
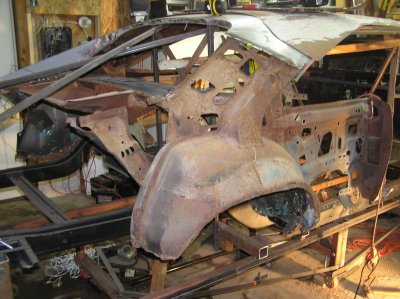
P1010138.jpg

P1010095.jpg P1010100.jpg P1010103.jpg P1010104.jpg P1010111.jpg P1010136.jpg P1010138.jpg
 
Holy $hit "you must REALLY want a mopar4don" that is some serious metal removal. "WOW" I don't think I've ever seen anyone go to this extent, please bring it to the Nats when it's done "I gotta see it". Way to go
 
It's OFFICIAL ! ! !

I think that I've followed Don's thread pretty closely so far, and now . . .

with his latest adventure, I think that I've finally determined the ONLY piece of

ORIGINAL METAL

that will be left on his car, when he's completed building it . . .


key.jpg

( SMILE )

key.jpg
 
I think that I've followed Don's thread pretty closely so far, and now . . .

with his latest adventure, I think that I've finally determined the ONLY piece of

ORIGINAL METAL

that will be left on his car, when he's completed building it . . .


View attachment 166177

Haha, now that you said it he'll replace it too.:chain saw:
 
Very nice Don .. I imagine that would be "one million dollars" worth of body work if you were paying someone to do that!
 
:notworthy: I am officially calling you the Mopar God from here on out lol. Either that or you are crazier than the rest of us.
 
:notworthy: I am officially calling you the mopar god from here on out lol. Either that or you are crazier than the rest of us.


H2E . . . don't know, lots of competition here on this site ! ! ! LMAO ! ! !

( I mean crazies ! ! (smile ) I know I am ! ! )
 
Last edited:
One day you'll walk into your garage and there will be a nice '69 Charger sitting there, and you think "where the hell did that come from and where did my giant rust puzzle go?"

Keep up the good work! Bright side is that there's really not much of anything left to remove.
 
Holy $hit "you must REALLY want a mopar4don" that is some serious metal removal. "WOW" I don't think I've ever seen anyone go to this extent, please bring it to the Nats when it's done "I gotta see it". Way to go

I think that I've followed Don's thread pretty closely so far, and now . . .

with his latest adventure, I think that I've finally determined the ONLY piece of

ORIGINAL METAL

that will be left on his car, when he's completed building it . . .


View attachment 166177

( SMILE )

Haha, now that you said it he'll replace it too.:chain saw:

Very nice Don .. I imagine that would be "one million dollars" worth of body work if you were paying someone to do that!

:notworthy: I am officially calling you the Mopar God from here on out lol. Either that or you are crazier than the rest of us.

H2E . . . don't know, lots of competition here on this site ! ! ! LMAO ! ! !

( I mean crazies ! ! (smile ) I know I am ! ! )

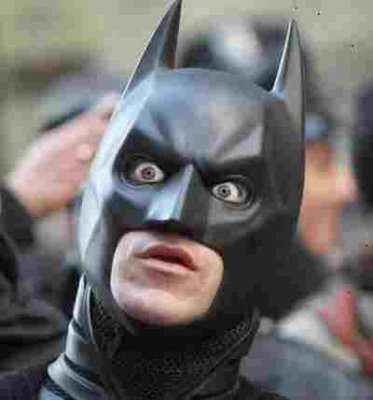
DAYUM! Holy sheetmetal surgery Batman
View attachment 166179

As always Don, my hat is off to you :notworthy:

One day you'll walk into your garage and there will be a nice '69 Charger sitting there, and you think "where the hell did that come from and where did my giant rust puzzle go?"

Keep up the good work! Bright side is that there's really not much of anything left to remove.

Nowhere for the rust to hide, that's the way to do it.
YOU GUYS CRACK ME UP
:rolling::rolling:
I just hope I can remember how it goes back together!
 
YOU GUYS CRACK ME UP
:rolling::rolling:
I just hope I can remember how it goes back together!

Funny that you say that mopar4don . . . I keep thinking the same thing as I'm working my way through my build ( but nowhere near as deep in it as you are ).

Keep up the great work . . . I have to pick my chin up off the floor every time I watch the work that you're doing . . . WOW ! ! !
 
DAMN!!!!!!!!! I know when you first put up photos, there was a car there. Where the heck did it go? You've gotten into this more than I could ever think of doing.
 
I'm just speechless on this one. My hats off to you and whatever you do DON'T LOOSE YOUR DOCUMENTATION!!!!! You need back ups, of back ups, of back ups at this point.
 
I'm just speechless on this one. My hats off to you and whatever you do DON'T LOOSE YOUR DOCUMENTATION!!!!! You need back ups, of back ups, of back ups at this point.
I know EXACTLY what you mean. In fact that is my biggest worry!
Because I have no experience doing this I hope I have measured and documented what I will need when I go to put this puzzle back together again!
But that's why I have the members on this forum for to help me out if I get in a jam!
 
Drivers side wheel house removed

I did this just like the pass side.....

P1010139.jpg

P1010140.jpg

P1010141.jpg

P1010142.jpg


With the wheel house out of the way, I peeled back the remaining piece of the wheel house that was under the roof support.

P1010143.jpg

P1010144.jpg

I peeled it back far enough until I could get my air hammer in between the back edge of the roof support and the lip of the wheel house.
These spot welds were really small. Easily cut through by the air hammer.
(I pushed it a little to hard on this side. You can see how the air hammer tore the metal around the spot welds)

P1010145.jpg

P1010139.jpg P1010140.jpg P1010141.jpg P1010142.jpg P1010143.jpg P1010144.jpg P1010145.jpg
 
All joking aside I cannot wait to see a car again, to see a car after this will be a huge accomplishment. Knowing that there once was almost literally nothing should be quite rewarding, I'll keep saying "Wow". You will certainly have the confidence to take on any restoration after this. You I think have made many of us feel like we had it easy "kudos4don".
 
Roof skin removal

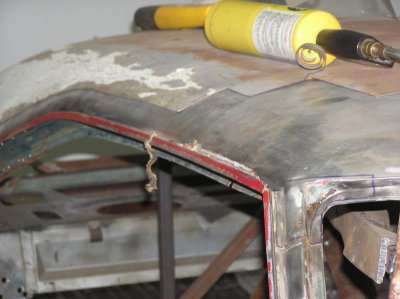
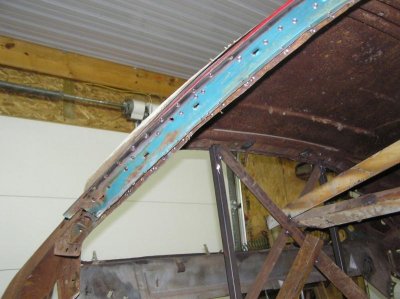
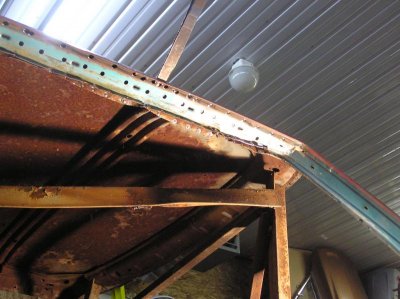
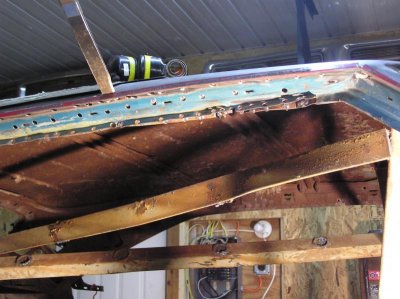
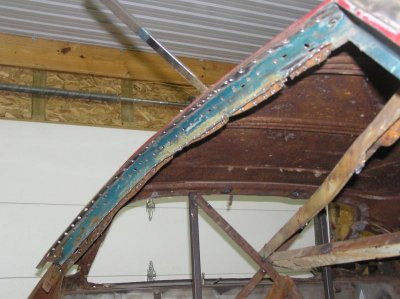
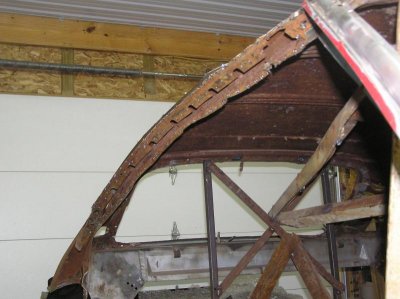
I've decided to remove the roof skin so, the 1st thing I did was remove the seam sealer from inside the drip rail.
I used a torch and screw driver to scrape it out.
P1010024.jpg
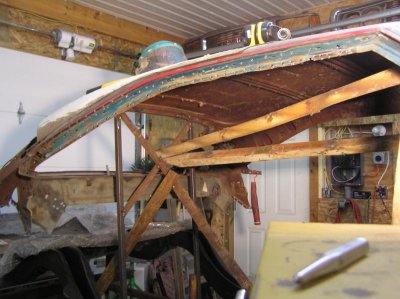
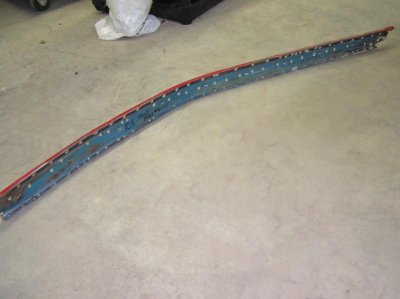
Then I started drilling spot welds from under the drip rail. Once this is removed the roof skin should come off fairly easy.
I decided to do it this way for three reasons, #1, I thought it would be easier, and #2, I had some rust damage that I needed to get at and removing the drip rail would allow me access. And #3, I will get the roof structure blasted and primed. And with the skin off, I'll get a better job!
P1010025.jpg

And there are a LOT of spot welds!

P1010027.jpg

P1010028.jpg

P1010029.jpg

P1010030.jpg

P1010031.jpg

AND I MEAN A LOT OF SPOT WELDS 105 of them! Man I'm tired! And just think I get to do it again on the drivers side! LUCKY ME!

P1010034.jpg

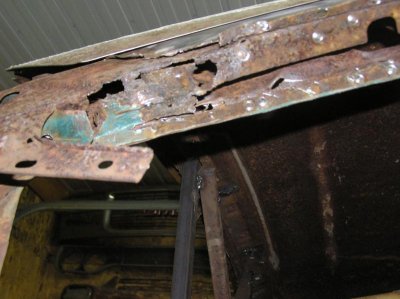
Here is a little of the rust damage I'll have to fix.

P1010032.jpg

P1010024.jpg P1010025.jpg P1010027.jpg P1010028.jpg P1010029.jpg P1010030.jpg P1010031.jpg P1010034.jpg P1010032.jpg
 
Auto Transport Service
Back
Top