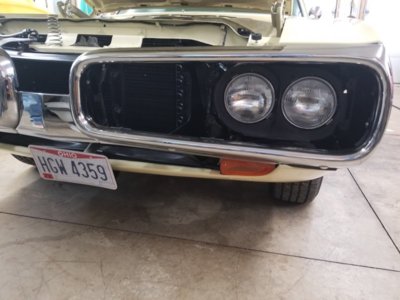
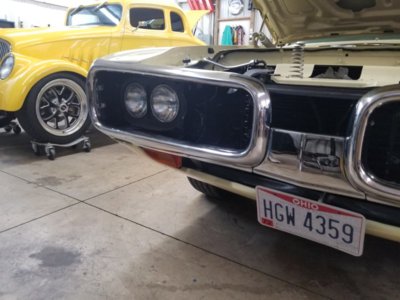
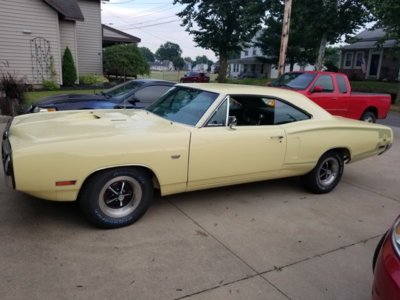
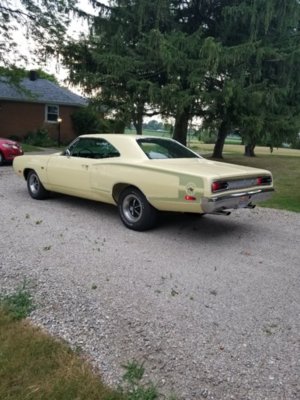
Made a little progress in the last week. Was trying to make sure everything was done on the engine before installation, but there's always something that can stop you. Luckily for me it's just a couple little things.


Green stripe part time project
- Thread starter DLevel
- Start date
Super Rob
Well-Known Member
That Bee looks great, very good work!
Thanks for the comments and support guys. My brother helped me get the exhaust on Friday night. Got everything done and then went and snapped the very last u-bolt clamp holding the tailpipe tip on. I bought the deluxe exhaust package from Accurate and feel the fit was great. The only thing I don't care for is how tight the clamps have to be before they will start to tighten the joints together. Seems like you can tighten those clamps down on the tips until it breaks like I did, and still not collapse the stainless or even start to piss it off ! Sure does look good though.


Well after 2 previous failed windshield installs, I hope I've finally got a water tight seal on the third attempt. Paid a glass installer to put it in the first time. He was same guy that put my back window in a year ago, and has been used multiple times by a friend for GM jobs with good results.
Even though I said a sealer should be used he said he hadn't needed it before on other 68-70 mopar installs. Of course it leaked like crazy.
I removed it and re installed with the help of my brother last weekend, using a Window Weld urethane product. Had the same leaky result when putting water to it the next day. Man was I pissed. I honestly feel I didn't put enough of the sealer in the channel at the bottom, but maybe it set up before the windshield was fully installed.
I read Threewoods post on his install and took that approach tonight. Was worried about getting the gasket back out and saving it but it came out easily. That might of been the problem because the urethane only stuck to the body paint, never bonded to the gasket. Now trying to get that stuff off of the window channel was a bitch with a razor and not take the paint off. We removed as much as we could then put that 3m 08509 down like Threewood said and I'm hoping I'm good. After this much work I think I will give it a few days before water testing with the hose.
JimKueneman
Well-Known Member
Thanks for the comments and support guys. My brother helped me get the exhaust on Friday night. Got everything done and then went and snapped the very last u-bolt clamp holding the tailpipe tip on. I bought the deluxe exhaust package from Accurate and feel the fit was great. The only thing I don't care for is how tight the clamps have to be before they will start to tighten the joints together. Seems like you can tighten those clamps down on the tips until it breaks like I did, and still not collapse the stainless or even start to piss it off ! Sure does look good though.View attachment 527785 View attachment 527786
Yes that is tough pipe. The way I did it was tighten, Hit the "U" bolt with a hammer to make it collapse, tighten, hit the "U" bolt with a hammer, repeat.
Sixtynine_Bird
Well-Known Member
your car looks really nice! 
Thanks for the good words, it's been a long time coming . Have to send out a big thank you to Threewoods for his advice on the windshield install. Worked great and no leaks now !your car looks really nice!
I didn't get the B done before winter as I had hoped. Was just too busy with work, and honestly just put the few things that needed done on back burner too long.
The car was pretty much done by summer except for the grills, brake switch issue, and making a new 70 correct Ac discharge and muffler line.
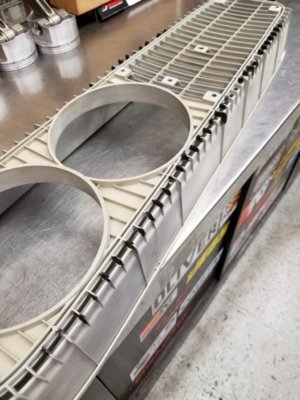
My brother and I worked on grills for my car, his, and a set of spares sporadically last fall and was able to get those done. Stripped the old paint by glass beading, then repaired any cracked pieces before painting.
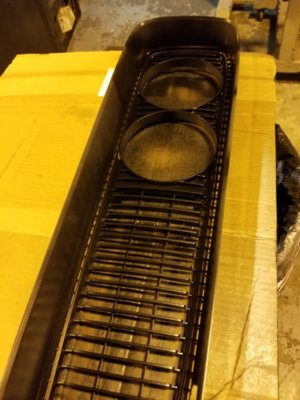
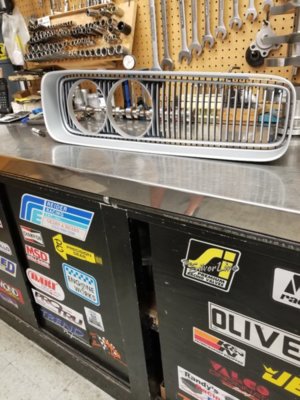


Super Rob
Well-Known Member
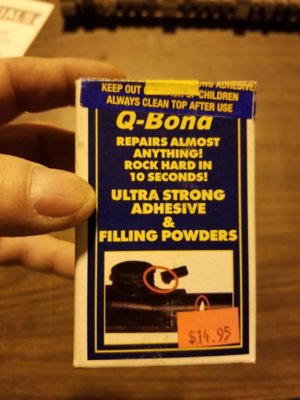
What products did you use for the repair?My brother and I worked on grills for my car, his, and a set of spares sporadically last fall and was able to get those done. Stripped the old paint by glass beading, then repaired any cracked pieces before painting.
Super Rob, this is the product we used. There is a black and a grey powder in the kit, but we only ever used the black as it worked real good. Here are a couple pics of how the repairs were made. Someone out there could have a better idea of attacking these repairs, but this worked for my brother and I.What products did you use for the repair?
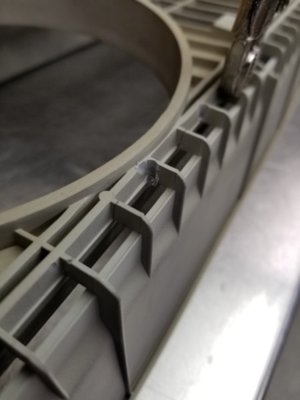
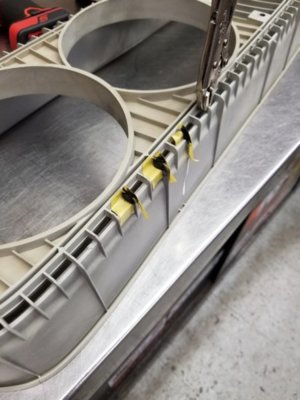
Super Rob
Well-Known Member
Great, thank you! Found it already on German amazon. 

Similar threads
- Replies
- 50
- Views
- 4K
- Replies
- 0
- Views
- 659


