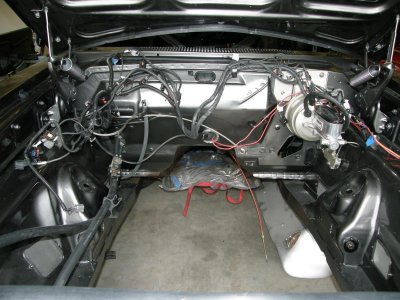
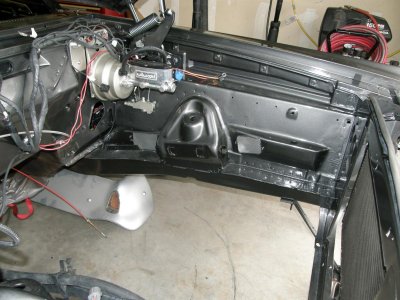
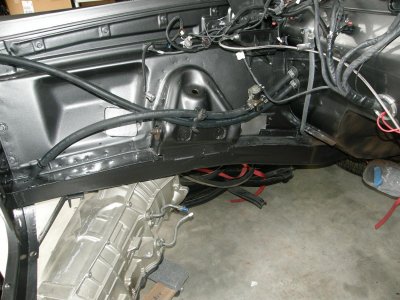
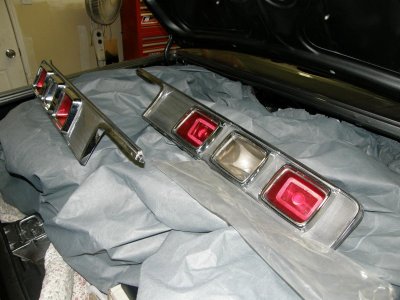
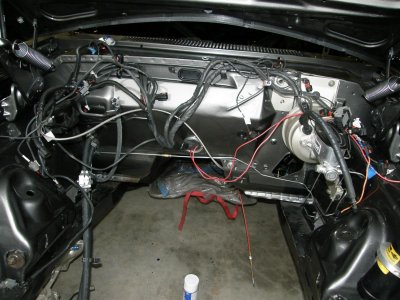
Engine/trans wiring harness is in. Legendary said console carpet will go out on Tuesday, man they are slow, but worth the wait! I'll post pics in the morning for all you car **** lovers, lol!!
You are using an out of date browser. It may not display this or other websites correctly.
You should upgrade or use an alternative browser.
You should upgrade or use an alternative browser.
late model hemi into early b bodies
- Thread starter 5.7 hemi
- Start date
Here's some pics...enjoy!
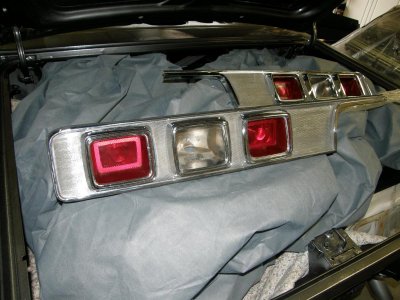
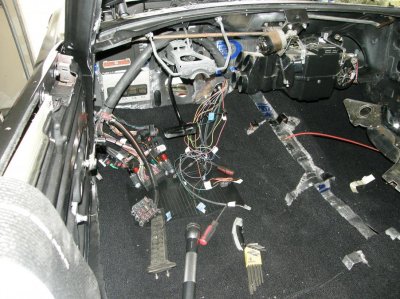
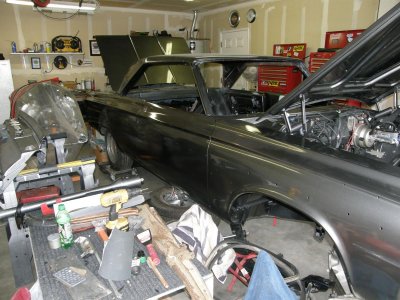
Wiring harness is in, taillites still need reverse lenses and panel to body gasket, and you can see how I had to cut the carpet to get it to fit, good thing I have a console to cover it up!
Wiring harness is in, taillites still need reverse lenses and panel to body gasket, and you can see how I had to cut the carpet to get it to fit, good thing I have a console to cover it up!
Attachments
HitIt
Well-Known Member
:sSig_goodjob::sSig_goodjob::sSig_goodjob::sSig_goodjob:
Some great progress going on every day, nice to see!
Some great progress going on every day, nice to see!
rapidtransitric
Well-Known Member
looking good your progressing very well like all the pictures
Darius
Well-Known Member
I am totally jealous dude. Looking GREAT!
I have resigned myself to the fact that I will be driving my Dart to spring fling, but I said last year it was the LAST time I go to spring fling without a CAR! Besides, nothing wrong with the Dart!
I have resigned myself to the fact that I will be driving my Dart to spring fling, but I said last year it was the LAST time I go to spring fling without a CAR! Besides, nothing wrong with the Dart!
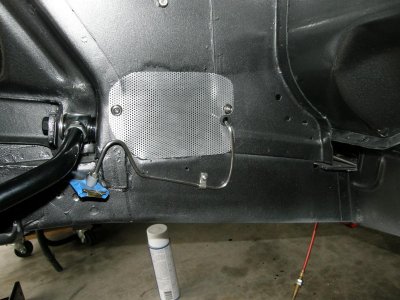
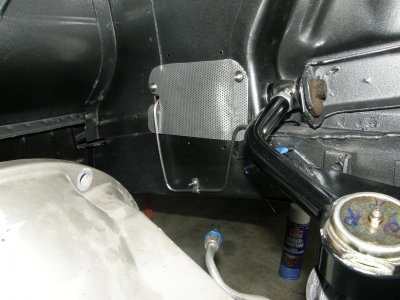
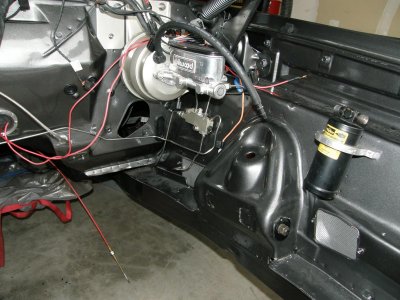
I will be the first to say that bending up stainless steel brake lines is a bitch!! I screwed up 3 lengths of 6ft. pieces to go from the drivers side to the passenger side front. I tried to get it in 1 piece, but it's not working for me. So I'll make a 2 piece line, I'll kick that stainless steels *** one way or another.
Pics of what I got done lately...
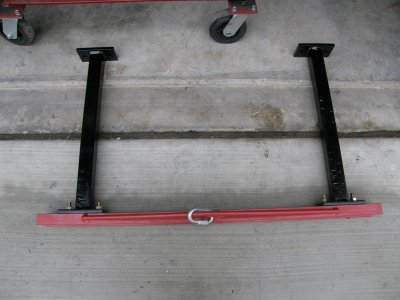
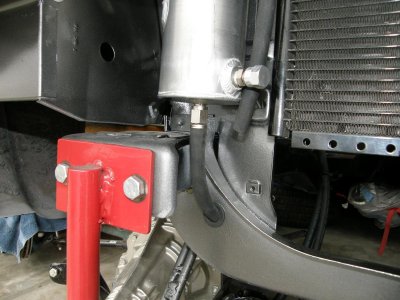
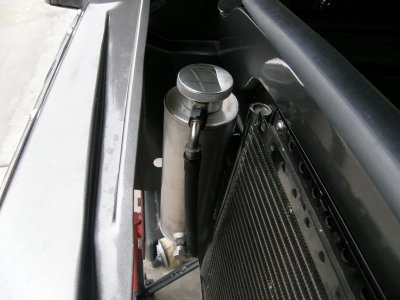
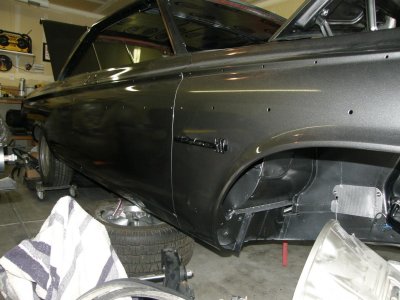
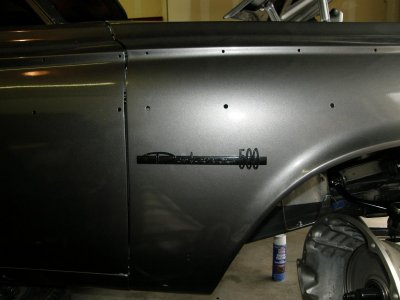
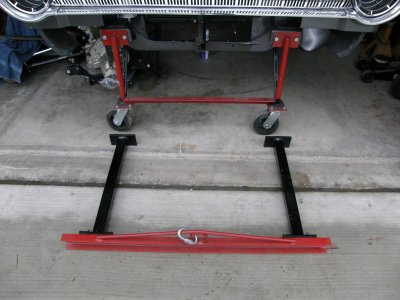
Here is the crappy 2 piece line going from the passenger side to the prop. valve. Also the catch can, 1 emblem, but I got something better being made for that, you'll have to wait till it's done..hint...it's done on a cnc. Then there is the lift that bolts to the frame rails so I can shove the eng/trans/k-frame all in at once. Oh, that will go in next Saturday, a few friends are gonna come over and help, should be fun!!
Here is the crappy 2 piece line going from the passenger side to the prop. valve. Also the catch can, 1 emblem, but I got something better being made for that, you'll have to wait till it's done..hint...it's done on a cnc. Then there is the lift that bolts to the frame rails so I can shove the eng/trans/k-frame all in at once. Oh, that will go in next Saturday, a few friends are gonna come over and help, should be fun!!
Attachments
-
 01142011 005.jpg124.4 KB · Views: 419
 -
 01142011 004.jpg171.9 KB · Views: 426
 -
 01142011 003.jpg146.5 KB · Views: 443
 -
 01142011 002.jpg154.4 KB · Views: 438
 -
 01142011 001.jpg154.5 KB · Views: 430
 -
 01142011 011.jpg144.2 KB · Views: 423
 -
 01142011 010.jpg111.4 KB · Views: 421
 -
 01142011 008.jpg128.7 KB · Views: 425
 -
 01142011 007.jpg93.9 KB · Views: 428
 -
 01142011 006.jpg127.9 KB · Views: 433
Joe Mopar
Well-Known Member
Hey Zack other than the extra coupling in the center looks like you did a good job with all the bends. Shoot once you get the motor in there and it starts throwing oil all over the firewall you'll never even know that coupling is there.:bootyshake:
I will tell ya. if that engine leaks a drop, I'll throw in the gutter!!! lol!! The coupling doesn't look all that bad, buts it's one more place for a possible leak and I dont want any leaks or soft brakes.
I broke 2 of the things that go inside for the first step in double flaring, but that was a long time ago, and haven't broke anything since. I did some more research on bending tubing, forgot some stuff and learned a few things such as wherever your mark is to bend, come back an inch and after the bed it will be spot on. I guess I'm not to old to learn, lol!!
I broke 2 of the things that go inside for the first step in double flaring, but that was a long time ago, and haven't broke anything since. I did some more research on bending tubing, forgot some stuff and learned a few things such as wherever your mark is to bend, come back an inch and after the bed it will be spot on. I guess I'm not to old to learn, lol!!
rapidtransitric
Well-Known Member
see you learn something new everyday nice job zach
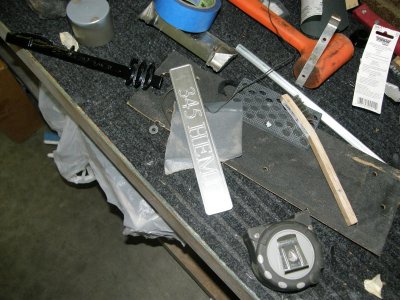
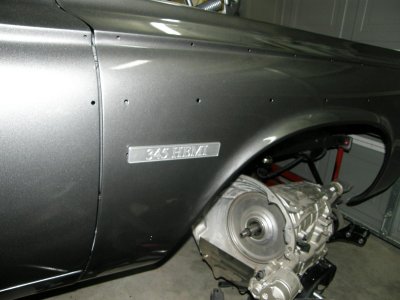
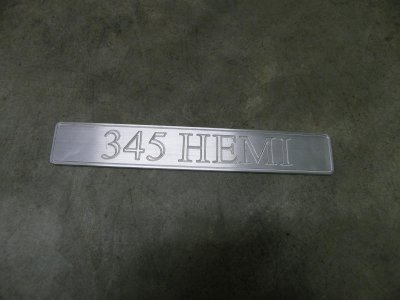
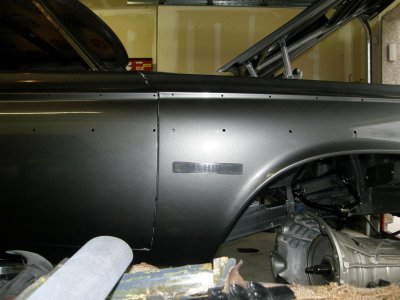
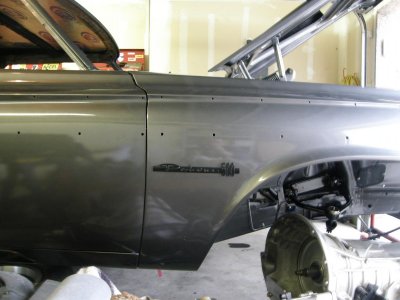
Thanks. I got the headliner in today, looks nice. My buddy dropped off the new fender badges......... 345 HEMI .... got to paint then sand off the rest so the lettering stick outs. I think this will look cool instead of the original emblem. Not overly goddy, just simple and to the point.
Attachments
Thanks hemidup! It has been a long time building it and now I'm on the down side and see the light at the end. Engine/trans go in next Saturday, then wire the lights from front to back. Then the interior will get finished, weatherstripping, and finally all the outside trim goes back on. Cant wait to get it move under it's own power. I'll be taking pics along the way so all can see. This is gonna be fun!!!
rapidtransitric
Well-Known Member
pictures did somebody say pictures
Sorry, no work on the car today. Instead I helped my dad on his numbers matching 70 Challenger RT. Good times working with dad, and I still learn tips and tricks. I'll get some work done on mine tomorrow.
Joe Mopar
Well-Known Member
Car **** is Car ****, love to see more pics of your Dad's Challenger. :icon_axe:
Thanks hemidup! It has been a long time building it and now I'm on the down side and see the light at the end. Engine/trans go in next Saturday, then wire the lights from front to back. Then the interior will get finished, weatherstripping, and finally all the outside trim goes back on. Cant wait to get it move under it's own power. I'll be taking pics along the way so all can see. This is gonna be fun!!!
From what I've seen, she's a labor of love. When you install the engine, its time to update your avitar pic. Once she's up and running and you decide you need a shift kit for your 545, give me a holler.
I'll see about getting some pics of my dads Chally for you guys to gawk at, lol!!!
I will update my avitar when the engine get nestled back in, also will probably hit you up for the shift kit as soon as I get the rear broke in.
I will update my avitar when the engine get nestled back in, also will probably hit you up for the shift kit as soon as I get the rear broke in.
Similar threads
- Replies
- 16
- Views
- 780
- Replies
- 42
- Views
- 4K
- Replies
- 43
- Views
- 9K
- Replies
- 5
- Views
- 1K

