• When you click on links to various merchants on this site and make a purchase, this can result in this site earning a commission. Affiliate programs and affiliations include, but are not limited to, the eBay Partner Network.

My 69 Coronet project

Thanks for the update. Fingers crossed your wiring issues will be few to none with the new stuff.

Shouldn't be too difficult, mainly adding the fuse block for the additional accessories. And for good measure Hawk is coaching me.

- - - Updated - - -

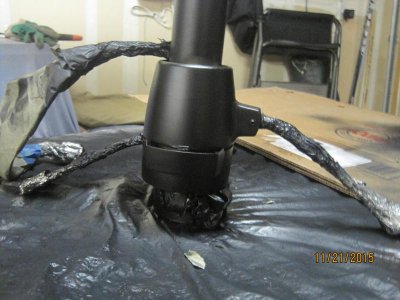
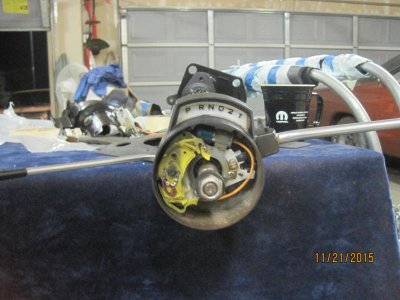
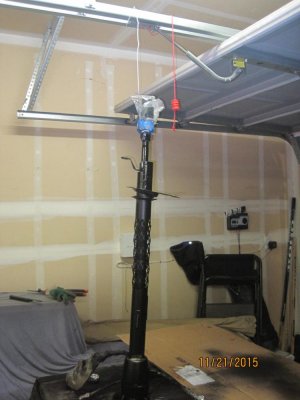
Got to my steering column in a nick of time. If I had walked out to the garage just a few minutes later…. don't want to think about it.
IMG_3093.jpg

Wrapped the stalks and wiring harness in aluminum foil.
IMG_3094.jpg
Unless there's some piece hiding under the bed, this was the last interior part that needed paint.
IMG_3096.jpg
 
Exactly. Once the engine/tranny/K frame is in I'll be on the downside of the curve. After that the next biggest hurdle will be adding the fuse block along with the wiring. BTW, are your transmission issues all sorted out?

I'll send you a write-up shortly on the other mods I did to "split" the wiring under the dash. It is really pretty easy.

As far as my transmission issues: I haven't had time to pull the tranny yet - I've been so busy at work. I am hoping I can throw in my original non-OD 4 speed Black Friday and get the OD off to get fixed...

I'm planning on using the 4 day Thanksgiving weekend to (hopefully) install the drivetrain. The engine still wasn't ready this weekend but talking to the builder it will be done next week.
 
This was the perfect weekend to install the engine - 4 day holiday weekend, 3 guys ready to help out. But no engine :angryfire: The builder texted me pics - the long block is assembled, last item remaining is the cut-to-fit push rods. The engine should be ready by mid-week.
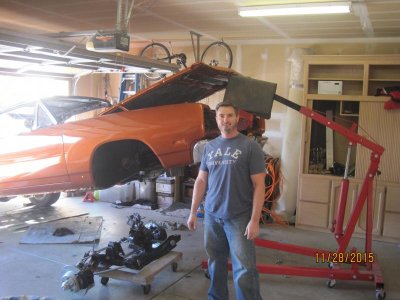
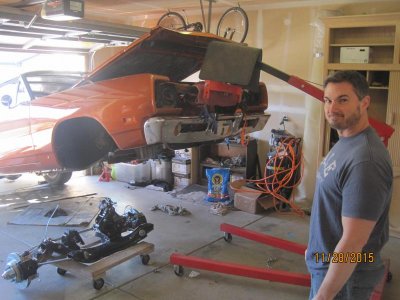
Took the extra to mock up how we're going to raise the car. Up until now my goal of raising the front end and sliding the drivetrain underneath was all theory. Don't have the US Cartool front end lift fixture so we're improvising. Bolted the front bumper to the brackets, wrapped nylon straps around the bumper and up she went, no drama at all.

Duke is lending perspective to the lift; there was easily another 5" - 6" of travel if needed.
IMG_3102.jpg

IMG_3103.jpg

So now we know it's gonna work, maybe by this time next week the car will be sitting on 4 tires again.
 
Last edited:
Take the hood off and make it a lot easier...

The hood's not in the way, it can closed almost all the way if needed. The rear bumper will bottom out before the hood would hit the ceiling. But mainly I don't want to chance scratching the paint while removing it.

- - - Updated - - -

Definitely getting closer. I'll keep fingers crossed you get the engine sooner or later and an easy install!

Thanks; should be sooner rather than later, but then again I've been saying that for two weeks. And with the holidays looming I want to at least get the drive train bolted in.
 
Christmas two weeks early

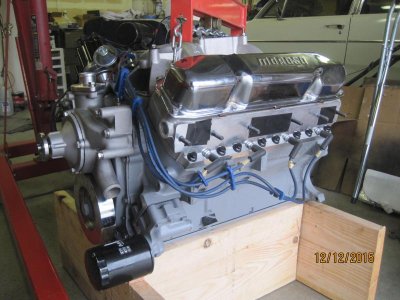
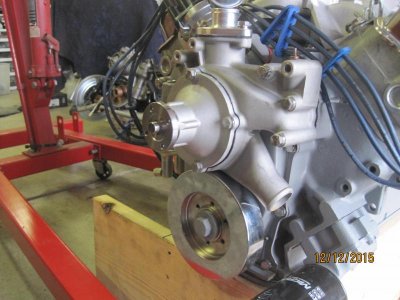
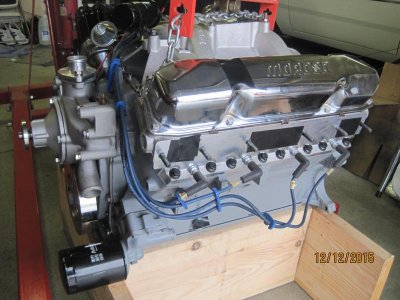
A lot happening this weekend. It actually started Thursday when I went my engine builder to hear the 440 on the run stand. The engine sounds great - as expected with the mild duration cam the idle had just a slight lope, nice throttle response. Ran it for 2 1/2 hours, no leaks, no strange noises. We have ourselves an engine. It was delivered yesterday.
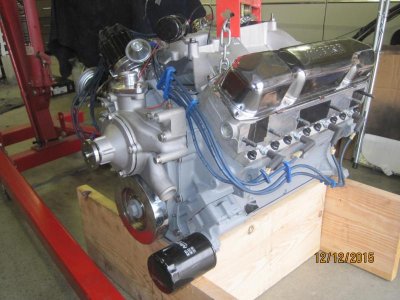
IMG_3113.jpg

IMG_3114.jpg

IMG_3116.jpg

IMG_3117.jpg

A short synopsis of the engine for those who may have missed the prior post:
-440 c.i. stock stroke, .030" over
- Stock forged crank, stock rods
- RaceTec forged pistons, zero deck. Calcs to 10.5:1 CR
- ARP bolts
- 440Source Stealth heads, ported and gasket matched
- 440Source fluid damper
- Hughes Engines valve train - hyd FT cam: 228/232 duration; .530/.536 lift at .050"; 1.5 ratio.
- Hughes aluminum roller rockers; Progear double roller timing chain
- Mellings oil pump; Milodon pick-up
- Edelbrock Performer RPM dp manifold
- Mancini aluminum water pump and housing; Denso mini-starter
- Block painted battleship gray

Still to be added:
- Doug's Headers, 2" primary, black-satin ceramic coating
- 3" exhaust all the way out the back
- FiTech TB fuel injection
- Classic Air A/C

Working between the holidays the plan is to have the drivetrain installed by New Years.
 
Last edited:
And on Sunday….

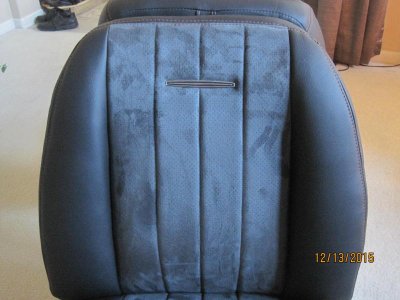
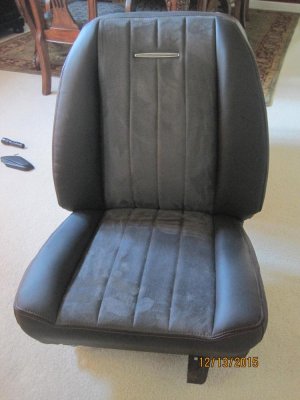
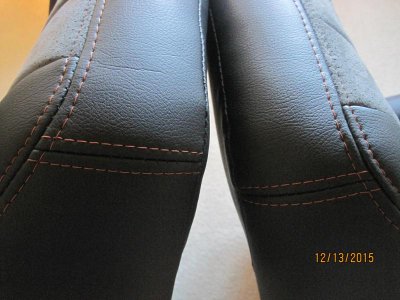
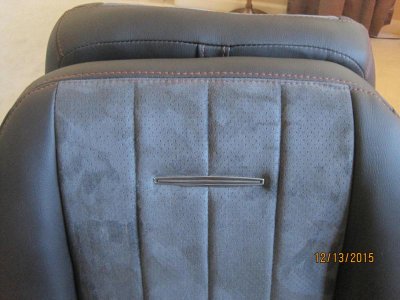
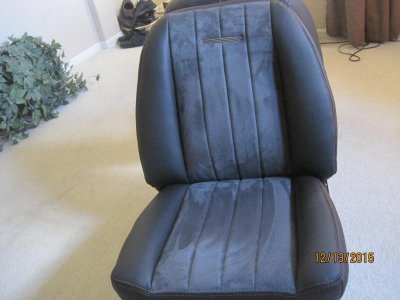
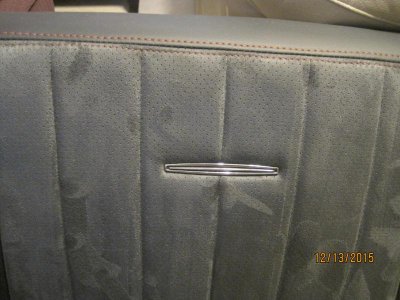
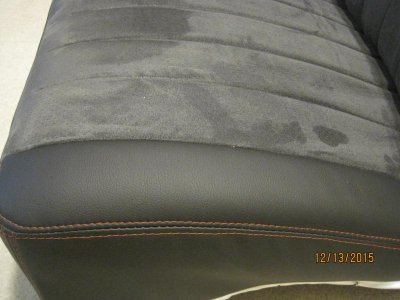
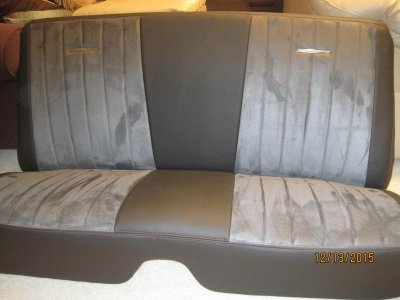
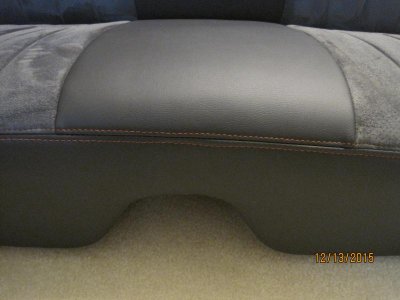
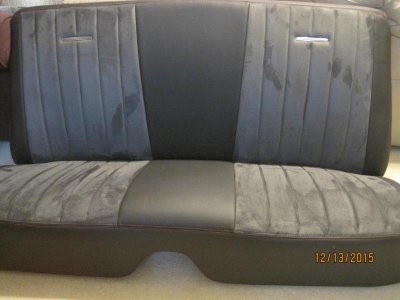
I picked up the seats. They're upholstered in black vinyl with perforated gray suede in the seating areas. Had the front buckets bolstered on the sides. The burnt orange stitching should nicely compliment the exterior. I had the shop transfer over the original Coronet medallions to keep that old school vibe.
IMG_3129.jpg

IMG_3130.jpg

IMG_3131.jpg

IMG_3132.jpg

IMG_3133.jpg

Matching rear seat
IMG_3125.jpg
IMG_3126.jpg
IMG_3123.jpg
IMG_3127.jpg
IMG_3124.jpg

It's kind of ironic that back in May I sent out the engine and seats to two different places within a week of one another and they both finished within days of each other. Over six months for each; shouldn't have taken that long but I did get quality stuff back. Learned my lesson though, never say "take your time, I'm in no rush"; it's taken literally.

In retrospect I wished I had grabbed the seat frames from the shop after the original upholstery was removed. Although not bad, there's surface rust on the tracks and the original grease has hardened. I'm going to have to clean them up with the new material on.
 
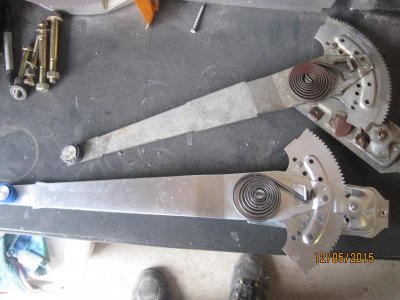
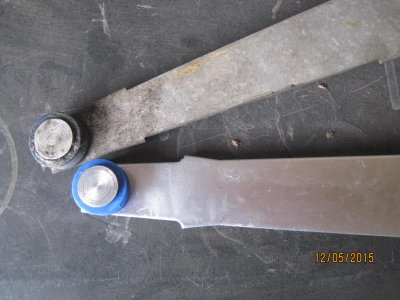
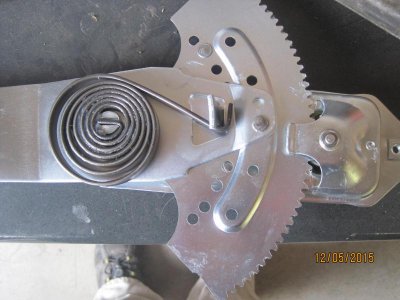
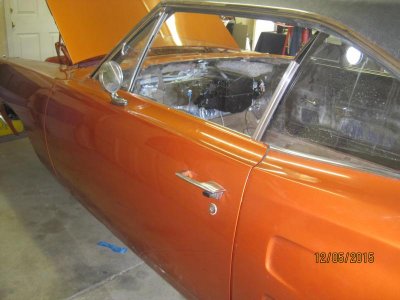
This weekend was great getting back the engine and seats. But Duke and I scratched another item off the To Do list last weekend. I had ordered a window regulator for the driver's side and it had been backordered for over a month. It finally arrived a couple of weeks ago and it's a nice rebop. The original was thrashed; the teeth wouldn't hold and the arm would snap back when cranked all the way down; came close to busting a finger. With the new regulator in hand we assembled the window mechanism and remote side view mirror. The passenger side glass installed in less than an hour; by contrast the driver's side took close to 3 hours to install. Every pressure point was off by 1/4" or less. I wonder if the original accident with the wheel falling off tweaked everything just enough to make a difference. We wound up loosening the front door bracket where the vent window "fork" rests, jamming the vent window frame in and then adjusting and tightening the bracket after. Still have a lot of adjusting to do; the felt on the back edge of the front window lines up nice with the rear quarter window until the front window is about 1/2 way up, after that there's a noticeable gap the rest of the way up. Worse case I won't drive the car in the rain and the headers should drown out any wind noise, lol.
IMG_3106.jpg
IMG_3108.jpg
IMG_3107.jpg

IMG_3109.jpg

IMG_3110.jpg
 
I love the seats, the stitching really looks nice and gives it a cool touch! That's great news that the motor is all good and ready for install, I like the color choice haha............. mines cast iron gray!
 
I love the seats, the stitching really looks nice and gives it a cool touch! That's great news that the motor is all good and ready for install, I like the color choice haha............. mines cast iron gray!

Thanks Dev. Yeah, Hemi orange block in an orange engine bay is sooooo 80's, lol.

- - - Updated - - -

Its coming along nicely! Keep up the good work!

Thanks Homstead
 
Looking great Bro. Can't wait for you to get that baby on the road and you can do some cruising with Dennis H and I!
 
Looking great Bro. Can't wait for you to get that baby on the road and you can do some cruising with Dennis H and I!

I'm thinking the same thing. I want to drive down to Spring Fling with you guys if you're going next year.
 
Your engine looks sweet, looking good with all the work you are doing and have done!!!
 
Your engine looks sweet, looking good with all the work you are doing and have done!!!

Thanks Ron.

BTW, how's your build coming along? Haven't seen a post in a while; I remember you were dealing with some family and health issues. I hope you're feeling better.
 
Auto Transport Service
Back
Top