• When you click on links to various merchants on this site and make a purchase, this can result in this site earning a commission. Affiliate programs and affiliations include, but are not limited to, the eBay Partner Network.

Project long haul...

ron you are rolling rite along there great progress and good workmanship,you got some skills there man,and that bird might be ready to fly a lot sooner than you think,what john said is true as long as your weld has good penetration you are good.keep on working.
 
This is going to be a good build keep up the good work man
 
Great progress Ron - you are bringing back memories of my own resurrection. One tip on the POR15. It will not adhere to new or smooth metal. It does bond well to rusty stuff though. I quit using it because of this. My thinking is if the metal is rusty, it should be replaced or blasted and primered. Just don't want you to slather it all over your undercarriage thinking you did the right thing, only to have it peel off later.
 
Cool project,and your a very positive guy! Looking forward to see you keeping on with the '69.
 
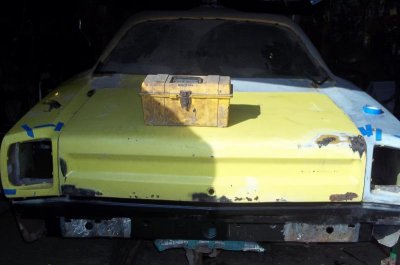
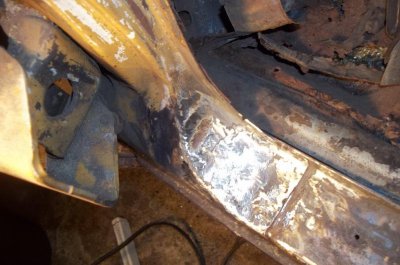
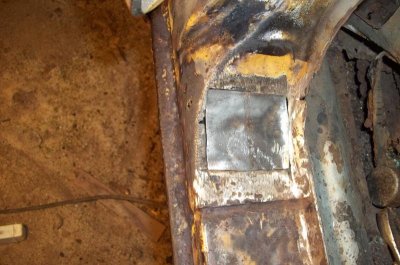
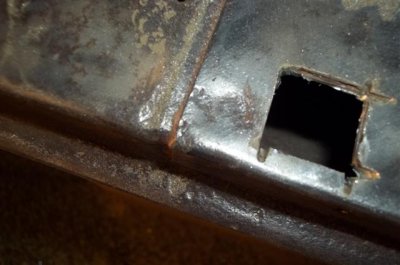
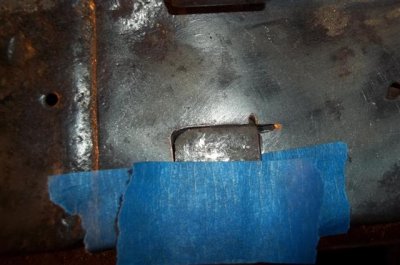
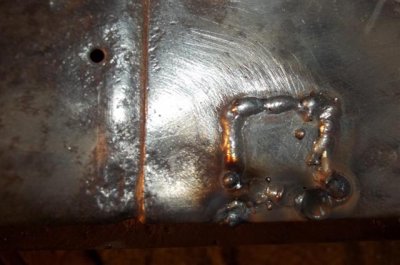
This is the second time ive tried tonight to post up, why's, not hear, whats going one, ect.. ill post the pictures and see if they turn out this time and go from there. I am slow thats a fact, i thought i had pictures that i don't have and i had a couple questions but gave up there as well, the welds on the tail panel are the other side of the welding and i hope it shows what i did, my shop small and had to shut it up for winter, i have i think 6 welds on each side using tail light buckets and old trunk deck to see if it shaped up to my measurements, then some drivers side rocker panel repairs, last pic's are the final fix i know of unless once floor is out there is more, looks good underneath as much as you can see, or feel but time will tell. little ticked off after spending an hour doing it right then loosing everything but, what the heck, the car itself isint easy sometimes lol anyway, ill try to post up other pic's of previous stuff as i find them, im just now getting back into this PC after getting it back and Windows 7 is new TO me anyway... weriod... 100_3233.jpg


005 (5).jpg003 (5).jpgPicture 251 (Small).jpgPicture 254 (Small).jpgPicture 255 (Small).jpg

Ok, I will try to figure this out later, Im giving in lol... I know all this isint what i had or in order i guess, ill get it!

- - - Updated - - -

My fellow 100_3260.jpgworker! and D-side rocker work... i hope.

100_3291.jpg What a computer mess, I haven't
started to fix this yet just cleaning up, outside and more, inside so ill be back when done.

- - - Updated - - -

100_3257.jpg
 
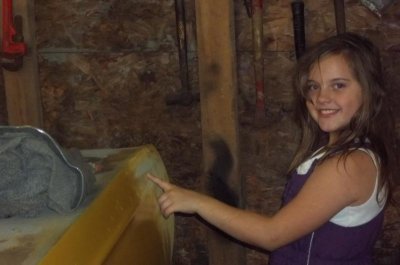
Wow Ron, I'm assuming this is the little one you always speak of and boy is she a cutie. I love when the kids join in and help out or show any interest.:thumbsup:
 
ron,i see you have made a lot of progress with your car,i see lower trunk panel, and lower crossmember have been installed that is a lot of work done and i see you have a lot of help with you as well.you will figure pics out.keep on rolling.
 
Ron,

How the H*** have I missed your build thread?!?! I must have had my head in the sand - SORRY!

I think it is awesome that you have started to work on your car. Build it for you, and also in memory of your son. It doesn't matter if it turns out to be a concourse restoration or a driver! What matters is that you build it and see a dream fulfilled - and I know your son will be right with you enjoying it too.

I am no expert and don't know where I can help, but let me know if I can - if nothing else then I will send lots of encouragement and positive thoughts your way! :headbang:

Hawk
 
instead of having your helper help with the car, have her show you how to work the computer! (been there done that!)
 
Looking good Ron! Every patch no matter how small is a step toward no more patching! Nice to have your kids help. My little guy is only 2 1/2 months so I'm not sure how far I'll be with mine by the time he can come out and help me but maybe the next for sure! I'll be watching for the updates as they come !
 
Hello Ron, like everyone said I don't know how I missed this thread either. Good luck with your project and sorry about your loss. I need to com over and visit since we are so close to each other.
Take care and good luck
 
Ooh I love patching rust spots. It looks like were working on the same area on our cars. The patch work looks great and now that's one less rust hole. Keep up the good work Ron.
 
You're definitely making some headway! Don't let the computer stuff get you too frustrated just set aside a good chuck of time for it when you won't feel distracted and I'm sure it'll work its way through
 
I appreciate all you guys here! one thing has kept me hear at this site over the years ive been around and its you guys who make it!!! Best site around and for information you just cant beat that either, quite a combo that other places should have, heck, maybe Joey and all the great moderators we have should gain control of the others, maybe some would come to know Mopars in a way that leads them hear!!! :), ya never know... one can only hope that they wake up to the best, not to say there isint a bunch of other good ones out there but Mopars do need to be up front.. lol, they are anyway, maybe they can just admit it lol...

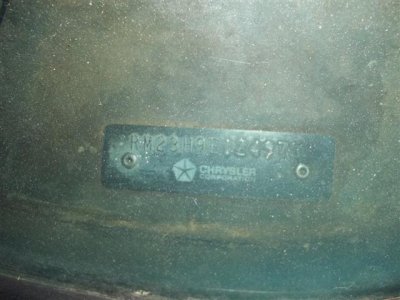
im attempting to put in some pictures i have leading up to what im doing, if it doesn't work again so be it and if i have any ive had in before im sorry, I don't have anything right now that ive done or don't know what i did with them but i have a plan from hear on out so i know what im doing and ill try to stay up to date no matter how long in-between work..... Any area i miss, ill make sure they are up at the time im there, i started this with a plan and changed my thinking so, ill be looking for opinions on a couple things when the time comes... but any way, i hope this works... Maybe someone can tell me a little of what the VIN is giving me, i think it's just where built and what number going down the line but maybe you all can tell me more, some say not to put the whole VIN in but im the one with the car and title so im not excited :)

VIN.jpg Trunk pan and all isint in there as im waiting on funds to get a new shock tower cross-member but i did want to see how things fit...
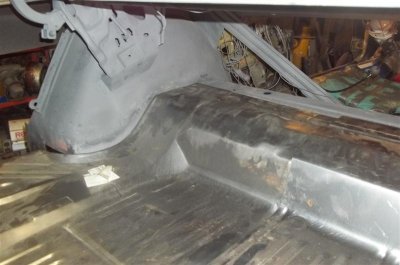
Picture 228 (Medium).jpg

I did do the springs as well and being i have little room i had to put them under the car and that's where they will have to be painted, harder but its the only way with winter months... After they were blasted i used Eastwood converter (rust) and then shot them with a pop can i call it of primer, everything will need sanded and primed and painted right...
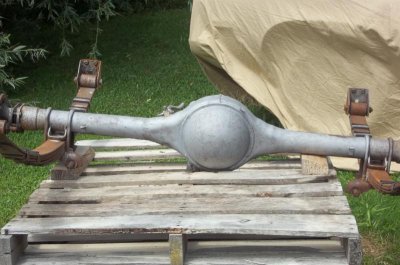
007.jpg Converter on it, glad i had this one handy! 002.jpg I bought two shackles from "moparmark" that i was more then happy about, My son in law helped me put all of it under the car and with my new "Moog" bushings these things went in just like they should!, Made my day after replacing the drivers rail and 1/2 the passenger side one, Finishing up the painting i imagine wont be as fun.. I had already cleaned, wire-brushed the rear floor and at the time just painted it with Rustolem but there will be POR-15 or Eastwood coating it all when im done, I have no idea how far a gallon of that por-15 will go but its going on everything under the car, the inside of the rails and the rockers im using the Eastwood in, They have a hose now that makes it a whole lot easier then how i did the original front half of the P-side rail... I was hoping i had a picture in this of that rear floor they way it was just painted but i guess ill have to dig deeper for those, and others.. I hope soon to post some things im doing now and ill put in some others as i find the things, Some where i have pics of the rails in and doing them to but right now i cant find them, i cant believe how much different XP was to this, i miss that XP for more reasons then pictures but i will have to figure it out i guess, I cant seem to put in but one pic at a time and that shouldn't be, that part should be the same as it always was!
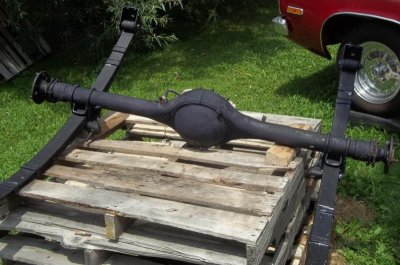
A small P.S. That rust converter on the springs and differential "has" to be covered with primer and paint, its Eastwoods product to but its not like the Encapsulator stuff im using other places, It should be for what it costs.
 
Looking good Ron!

You Vin decodes as follows:

R=Car Line: Plymouth Belvedere Satellite
M=Price Class: Medium
23=Body Type: 2 door hardtop
H=Engine: 383 1-4 BBL HP 8 CYL
9=Model Year: 1969
E=Assembly Plant: Los Angeles, CA
The last 6 digits are the sequence number

Keep up the good work!
 
Yeah baby another LA plant car like mine whoo hoo! and off the line before mine too. need the born on date
 
Auto Transport Service
Back
Top