• When you click on links to various merchants on this site and make a purchase, this can result in this site earning a commission. Affiliate programs and affiliations include, but are not limited to, the eBay Partner Network.

69 Coronet 440 project

You might want to rethink the kerosene heater, they pump out a lot of moisture.....a lot lot.

I've heard that about kerosene heaters. Is it all types or just the torpedo heaters. I do have a space heater that radiates heat instead of forced air.

- - - Updated - - -

Lookin Good BB! I just now see we are both doing the rear windows. And using the same shrinker/strecher-s, in a vice. I will have to read back thru here to pick up tips. I wish someone made corners for mine. Good work.

Thanks Daytona, no real tips back there on using the shrinker. I just went slow, a few pumps and then a test fit. I kept doing that till the piece fit. I did mine in two pieces. Three if you count what I did before the tools. Smaller pieces I think would be easier but more welding involved. Larger pieces look cleaner but harder to make. I was looking on the AMD website and they make a lot of the parts for the Charger but you're right no corners for the window.
 
Speaking of moisture, I can't tell you how much grief my dehumidifier has saved me this summer. The car would be wet to touch in the humidity but once I installed the dehumidifier "life's good" dry as a bone. Window looks great.
 
Ok the rear window upper channel is finally done. I'm figuring out that I need to slow down and be more patient. The roof line is a little warped. I guess that just means extra body work when that time comes.

View attachment 144895

View attachment 144896

It sure looks different from when I started. :)
View attachment 144897

I ordered all the pieces that I need to do the lower corners tonight from Roseville Chrysler here in Roseville Mi. Now I can't wait till they get here!

It sure does look different! your making good progress and it looks great!
 
Speaking of moisture, I can't tell you how much grief my dehumidifier has saved me this summer. The car would be wet to touch in the humidity but once I installed the dehumidifier "life's good" dry as a bone. Window looks great.

That would have sucked. It never got that bad here thank god but at least yours is really starting to come together. Can't wait till mine gets there.

- - - Updated - - -

It sure does look different! your making good progress and it looks great!

Thanks Ron, I'm trying. :)
 
Speaking of moisture, I can't tell you how much grief my dehumidifier has saved me this summer. The car would be wet to touch in the humidity but once I installed the dehumidifier "life's good" dry as a bone. Window looks great.

They do make all the difference, i don't have one myself but my brother in law's shop does, made a tremendous difference! To bad he doesn't do Mopars, GM guy but is doing a 65 Mustang for his grandsons graduation present.. Oh well, there's cars and then there's the Mopars :) I do like some Chevy's though, just not good enough to go to extreams building one lol
 
Today I decided to share the wealth and I took my decklid to a repair shop. They're going to strip it to bare metal. Once that's done then they'll let me know what it's going to take to fix it. This way I can keep going on the rear window area while the trunk gets fixed.
 
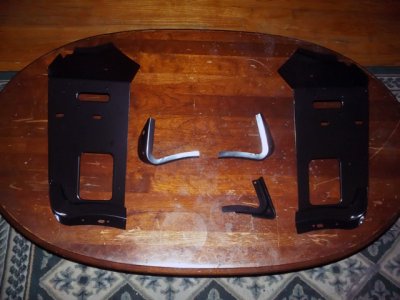
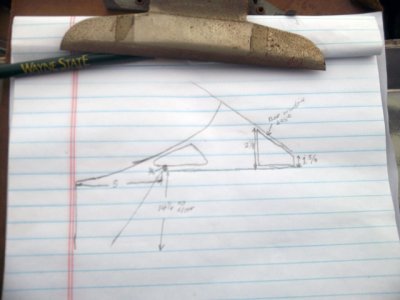
Got my new parts in today from Mike Riehl's Chrysler-Jeep. They are the local AMD sellers here in Detroit. Now I can finally get back to work on the Coronet. There are going to have to be tons and tons of measurements I'll have to take because all these little window corner pieces are rusted away on the old girl. Not quite sure how I'm going to do it yet but I'll figure something out. lol

NewRearWindowPieces.jpg

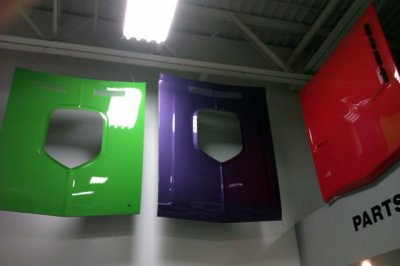
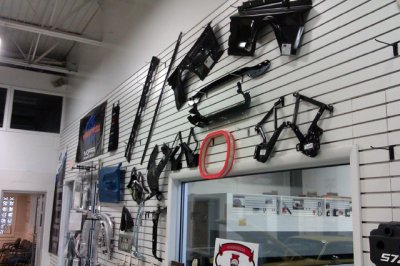
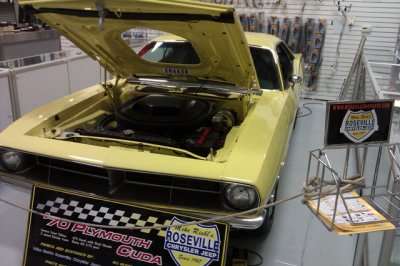
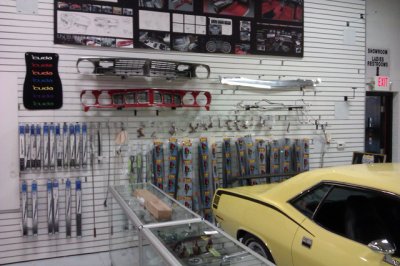
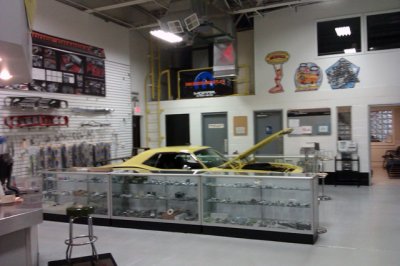
I ordered the right outside corner patch today while I was at the dealer. Hopefully it will come in sooner than these pieces did. I ordered them on the 8th of this month. Maybe this is normal to get pieces in. I'm used to going there and getting what I want the same day. This ordering thing is new to me. Here are some pics I took of the parts counter. All dealer parts counters should look like this lol.


MikeRiehlsChrysler02.jpg

MikeRiehlsChrysler03.jpg

MikeRiehlsChrysler04.jpg

MikeRiehlsChrysler05.jpg
 

Attachments

  • MikeRiehlsChrysler01.jpg
    MikeRiehlsChrysler01.jpg
    135.5 KB · Views: 487
Really cool place "now get back to work" haha.
 
I am very jealous , what a fantastic shop.

I will be watching you fix those corners and them asking you for instructions so I can do mine.
 
Wow, that place is incredible!!
After seeing all that I told then they were my new best friends! I was like a kid in a candy store.

- - - Updated - - -

Really cool place "now get back to work" haha.

YES SIR!!! I've been drilling spot welds all night. :)

- - - Updated - - -

I am very jealous , what a fantastic shop.

I will be watching you fix those corners and them asking you for instructions so I can do mine.

Any way I can help. :)
 
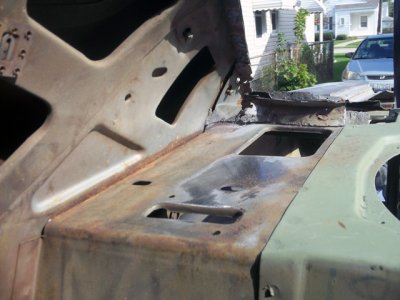
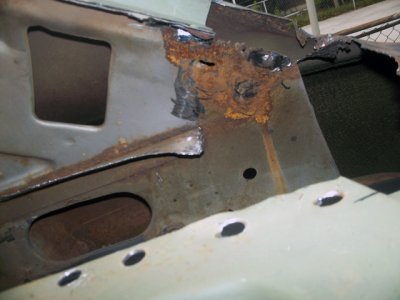
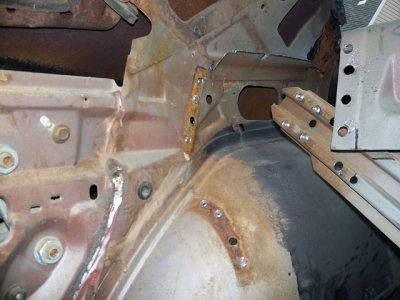
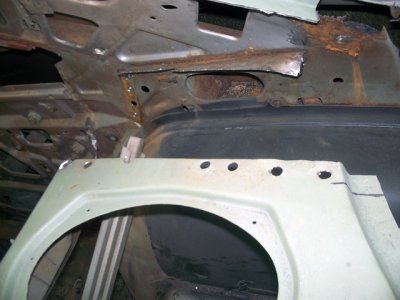
Well I started removing the package tray end piece today. Wow that bottom corner is a bitch to get to. Here's what I started with.

PackageTrayEnd_R_01.jpg

So the first thing I did was measure where it is so I know where to put it back to. I also put reference marks everywhere to line things back up.

PackageTrayEnd_R_02.jpg

Then I tore it apart! It looks like I'm going to have to replace the metal that the end piece attaches to. It's a little thin so I'll patch in new.

PackageTrayEnd_R_03.jpg

PackageTrayEnd_R_04.jpg

PackageTrayEnd_R_05.jpg

I've still got the one piece that attaches to the sail panel to remove. I couldn't get to the spot welds with the rest of the piece still there. Stay tuned, more to come. :)
 
Hell yeah, good too see the progress bigblock. And I'm sure I've said it before but you're setting a really cool example of how to save some denero's by taking what you have and patching it up like new with a little motivation and hard work. Keep it up!
:eek:ccasion14:
 
Glad to see you getting back at it. Good to see you getting those little nooks and crannies. The satisfaction will far out weigh the hard work you put into this when you get things done.
 
Hell yeah, good too see the progress bigblock. And I'm sure I've said it before but you're setting a really cool example of how to save some denero's by taking what you have and patching it up like new with a little motivation and hard work. Keep it up!
:eek:ccasion14:

Thanks Speedy for the kind words. I'm trying to save money wherever I can and at this point this will be a really easy patch to make. LOL I figure I'm going to need lots of greenbacks for the stroker motor I'm planning on.

- - - Updated - - -

Glad to see you getting back at it. Good to see you getting those little nooks and crannies. The satisfaction will far out weigh the hard work you put into this when you get things done.

Thanks Roger, yea I really am shooting for a zero rust automobile. As soon as the floor and quarters come off I want to get it media blasted. I figure, at that point there should be no more rust left on the car. :)
 
john,i always knew you are professional fab man,i am still watching,i have got busy with my old piece of junk 69 roadrunner,i guess i can change my name to mopar spot weld remover johnny,i got pans out floor and trunk,and i got my rear package tray out and dutch pan,and corners as you are working on i done all that,sore right hand and lower back,but i will take a week off and rest and recharge,great work as usual for you and congrats on going back to school,never let your vision and goals die.
 
Thanks Roger, yea I really am shooting for a zero rust automobile. As soon as the floor and quarters come off I want to get it media blasted. I figure, at that point there should be no more rust left on the car. :)

If someone can afford to get one completely blasted, it sure is the way to go,even doing it yourself although time consuming its worth it! Your doing a great job bud!
 
john,i always knew you are professional fab man,i am still watching,i have got busy with my old piece of junk 69 roadrunner,i guess i can change my name to mopar spot weld remover johnny,i got pans out floor and trunk,and i got my rear package tray out and dutch pan,and corners as you are working on i done all that,sore right hand and lower back,but i will take a week off and rest and recharge,great work as usual for you and congrats on going back to school,never let your vision and goals die.

Thanks Johnny, Keep plugging away at the roadrunner, you'll get there. Spot welds suck! I hate drilling them out.

- - - Updated - - -

If someone can afford to get one completely blasted, it sure is the way to go,even doing it yourself although time consuming its worth it! Your doing a great job bud!

Yea hopefully come springtime I'll be able to get it blasted.

- - - Updated - - -

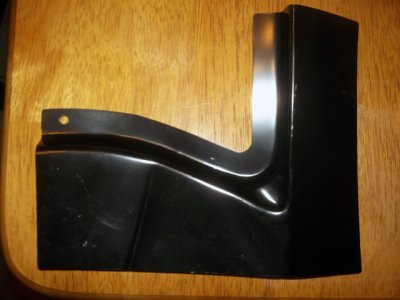
I got a new piece to my window puzzle today, the right lower outer corner. It's a lot smaller than I thought it was going to be. I'll get out there tomorrow in between the raindrops and do a test fit. Now all I need is a new dutchman panel to finish the rear window. Well and all the work to put it together.

RearWindowOuterCorner_R.jpg
 
Auto Transport Service
Back
Top