• When you click on links to various merchants on this site and make a purchase, this can result in this site earning a commission. Affiliate programs and affiliations include, but are not limited to, the eBay Partner Network.

The Long Road to my 74 Satellite Rebuild

rsd-I used to have a 74 RR with air shocks. That photo that propwash posted reminded me of what happened when I used to take it and jump intersections that had a "hump" in the middle. After doing that for a few nights after work, I added a little more speed one night and had good air and when I came down, something went wrong. Got back to the motel and looked underneath and saw that my shock not only went thru the crossmember but also went thru the trunk floor. I ended up taking the car to a welding shop and they made a crossmember from 1/4 in steel and drilled holes in the sides to bolt to the frame. I put new air shocks back on but never did and jumping anymore. I,m not saying that is what you are going to do with your car, but over the years that is something that might happen.
 
I've heard the horro stories about air shocks and the crossmembers over the years. I've had air shocks on all of my mopars, except one or two, since the mis '80s and never had any problems. maybe because i never did any jumping....:laughing5:
 
I dont plan on jumping anything!!! LOL, I may just throw some fresh KYB's on there and be done with it. The front ones made a huge difference for sure.
 
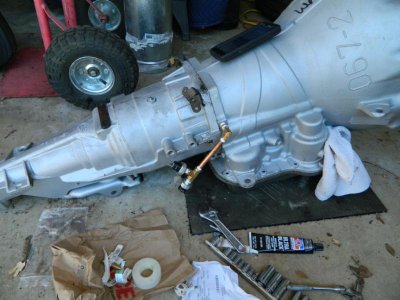
Started prepping the OD transmission to go in the car, didnt do as much as i thought, got distracted by the nice weather.

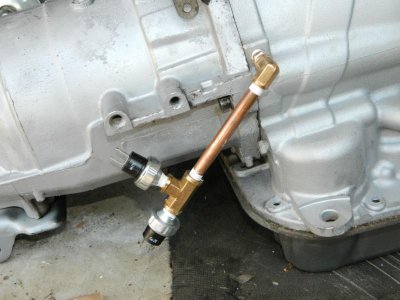
Hooked up the pressure switches for OD and lock up

pressure switch1.jpg

pressure switch 2.jpg

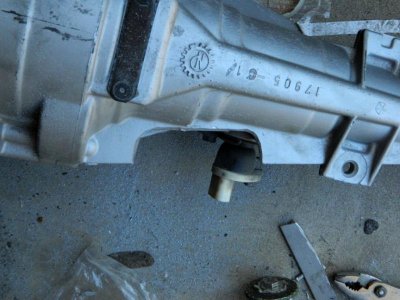
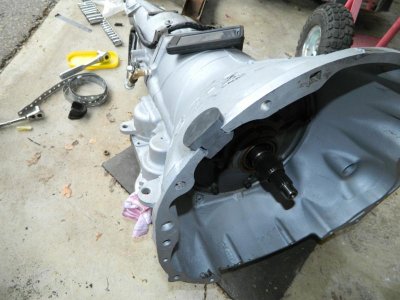
And cut the case of the transmission, first cut was a little scary.

trans cut.jpg

trans cut 2.jpg

trans 3.jpg

next ill wire the switches, modify the cross member, and try installing it. Ill be sure to document the rest of the process.
 
Pulled out the old transmission today. And got the new one ready to install.

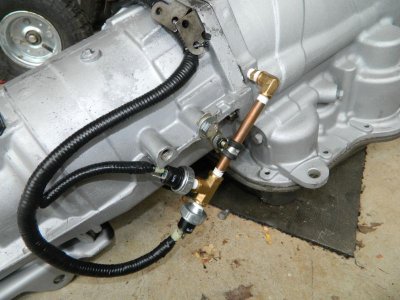
Got the OD/Lock up pressure switches wired in
switchresize.jpg

And made a plug to fill were the crank senor was
plug resize.jpg

Tomorrow gonna try to put the 46RH in tomorrow, need to get a flex plate, looks to be the same size as a 904, i have two but one has the wrong crank bolts and another has a bent ear. So hopefully a local shop will have one.
 
It is in!

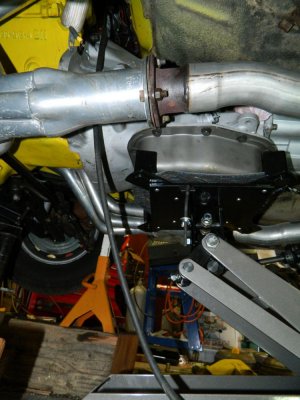
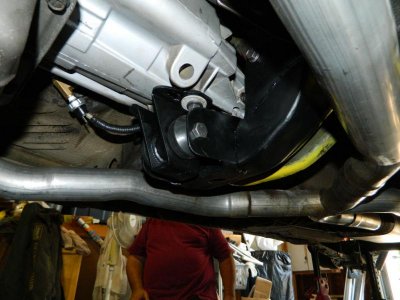
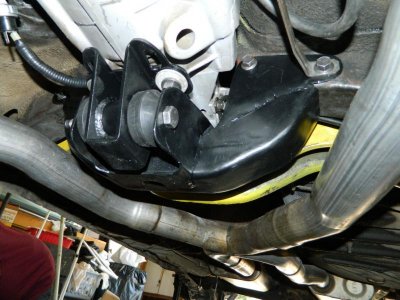
I got the transmission installed on wednessday, yesterday i made the bracket with my uncle and today i bolted it all together and started hooking everything up.

Wasted 7 hrs on tuesday trying to using a borrowed transmission jack that was a POS and way too small. Trans almost slipped off twice. Bought a better one that night and had the transmission installed and bolted to the engine in less than an hour wed morning. Like my dad says, right tool for the job.

Here is the tunnel dent i made in order to clear the pressure switches for the OD/Lock Up. It ended up a little bigger than it needed to be in my frustration with the other jack..

tunneldent.jpg

This is the jack i ended up using, it really worked great

trans jack.jpg

Had to shave another part of the case to clear the torsion bar cross member.

shaved plate 2.jpg

Close up

shaved plate 1.jpg

From the back

trans torshen mount clearance.jpg

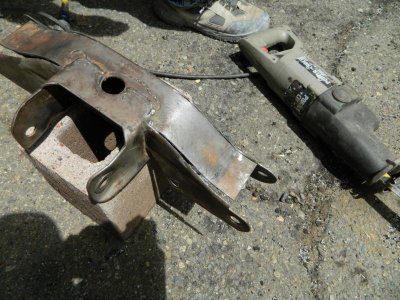
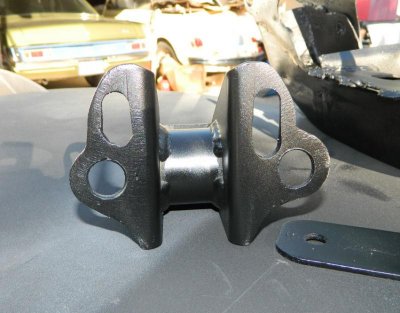
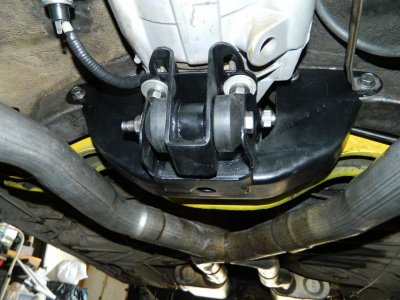
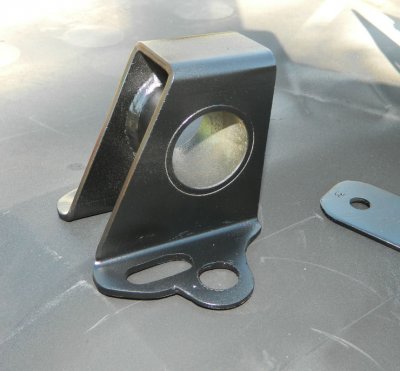
Next came the bracket, alot of guys where using a flat style gm mount, but my uncle was pretty sure that he could find a way to modify the original mount to work. We cut the "ears" off and lengthened them.

trans mount cutting.jpg

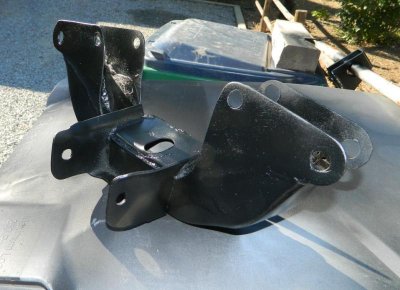
Here is the modified bracket after its been welded and painted black

trans cross mount 2.jpg

Then after a couple trial and errors we determined he had to widen the holes on the bushing, which he did by cutting and welding some washers on to the base.

trans bushing.jpg

trans bushing 3.jpg

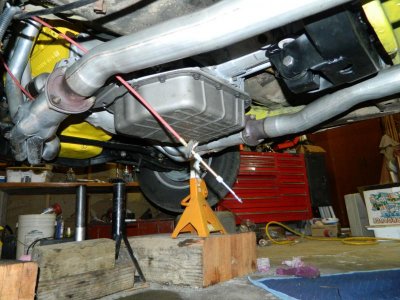
Then i just had to install it in the car, its a tight fit but it fits and looks awesome,

trans cross mount 1.jpg

trans cros moujnt 3.jpg

trans in car.jpg

trans in car 2.jpg

Still hooking parts up so but hopefully fire the car up again in a couple days. Still have attach the shifter cable, cooler lines and the run the wires for the overdrive. Oh i also had to shorten my drive shaft by 4 inches and i was already running a kick down cable on my 727 so that transferred right over.
 

Attachments

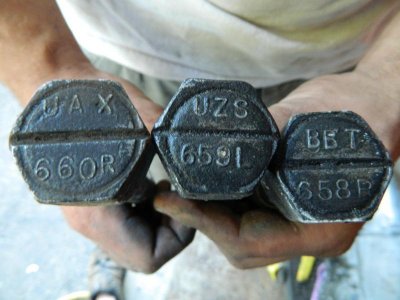
  • torision bars numbers.jpg
    torision bars numbers.jpg
    55.6 KB · Views: 440
  • trans bushing 2.jpg
    trans bushing 2.jpg
    94.1 KB · Views: 460
Your uncle did a heck of a job with that tranny cross member. Cruising with that OD is going to be nice. You'll have to let us know how it feels when you get her on the road.
 
Ya he's really good at creating/fabricating stuff like that. I cant wait to try it, ill definitely let you know. Today i pulled it in and out of the garage, but my shift isnt hooked up yet so i cant go to far.
 
Wow! That's amazing work you've been doing, getting closer for sure!!!
 
Thanks! Ive still got to figure out where to place my aftermarket shifter so it will fit the factory center console. My uncle said he was gonna start on the body work for the front of the car this week excited to see how it turns out. Also considering the idea of doing my stripes with a faint dark carbon fiber pattern, another one of my uncles ideas. I think it would work with all of the other modifications ive done on the car so far.
 
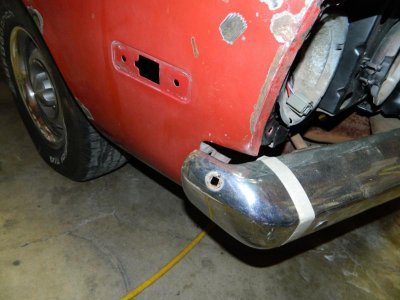
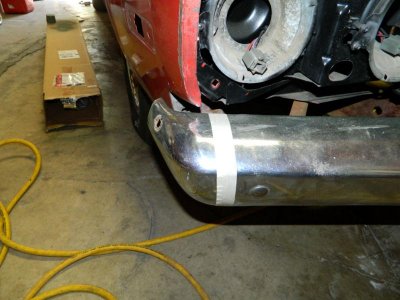
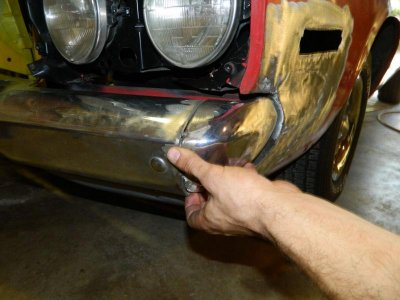
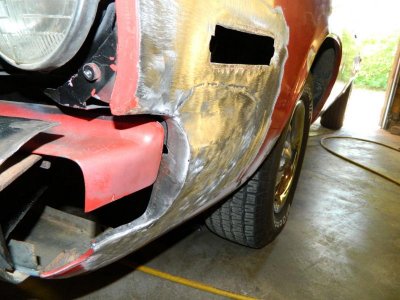
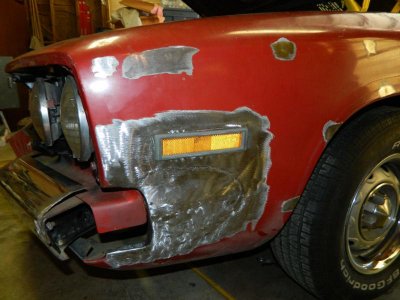
Modification of the front end has started. My uncle is taking an inch out of each side of the bumper, and also building a flair to streamline its shape into the fender. He also rounded the corners of the marker light bezels, and we might take the ridge off as well still deciding.

Uncut passenger side

bumper uncut 2.jpg

front bumper uncut.jpg

Heres what hes got done so far on the drivers side.

front bumper mod.jpg

He also squared the end of the bumper to make it flow into his flair better

bumper flair.jpg

The front brackets for the bumper didnt have to be modified at all, still mount the same

front marker light 2.jpg

front marker light.jpg
 
Had to head back to work a week or two, but was abple to have my bumper inners and brackets sand blasted before leaving. My uncle says he should have in all in primer by the time im back. Very excited!

The car must have been in some kind of accident before we got it, every thing in the front was shifted to the drivers side slightly and the passenger side front bumper bracket was pretty far out of whack. Luckily my donor car had a good one.

front bumper bracket.jpg

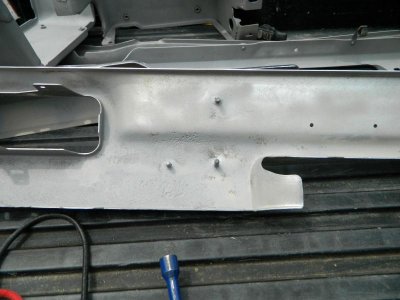
The rear bumper had pretty good amount of rust where the inner support mounts.

rear bumper sb 2.jpg

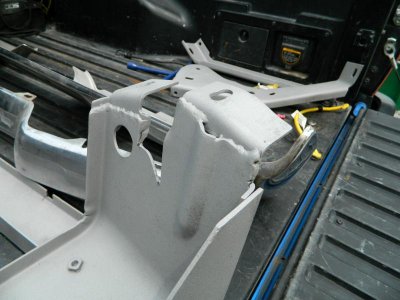
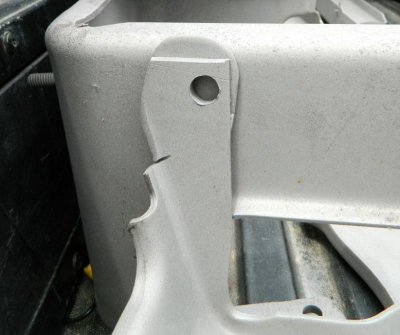
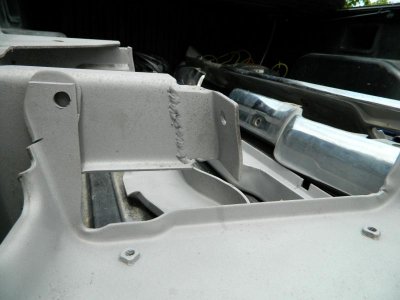
Here are a few pics of the chopped rear brackets.

rear bracket 2 sb.jpg

rear bracket lower sb.jpg

rear bracket sideview sb.jpg

rear bracket sb.jpg
 
Haha it seriously does but i am beyond excited to see it all one color. And i havent driven her since Jan when body work started so cant wait to get back on the road.
 
Like what your doing with the bumpers and OD, can't wait to see it done.
 
Auto Transport Service
Back
Top