You are using an out of date browser. It may not display this or other websites correctly.
You should upgrade or use an alternative browser.
You should upgrade or use an alternative browser.
69 Bird resto
- Thread starter Sixtynine_Bird
- Start date
- Local time
- 9:57 AM
- Joined
- May 14, 2011
- Messages
- 18,406
- Reaction score
- 36,318
- Location
- On the Ridge, TN
Thanks for taking the time to share all of this. You're doing wonderful work!
moparnation74
Well-Known Member
Nice work! I will be following this build....keep up the progress
Sixtynine_Bird
Well-Known Member
Sixtynine_Bird
Well-Known Member
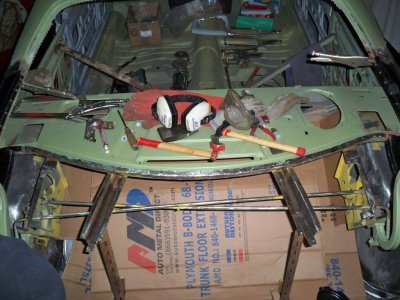
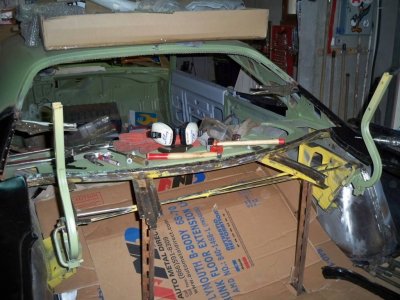
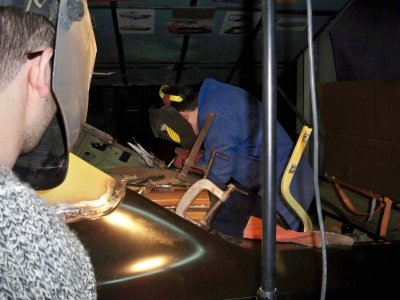
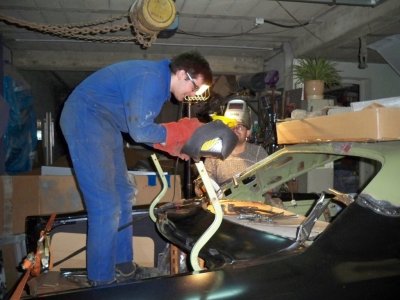
Then the quarters, the right side was pretty "easy" to do, didn't have much trouble to make it fit right, but the left quarter there was no way we could put it in and make it fit with the door! when it was in place the door wouldn't shut it hit the quarter everytime! So finaly, we put some (wedges i guess it is the right word), shut the door put quarter and blocked the gap with the wedges!
and finally we welded the quarter like that, and turned out pretty good with a nice gap and a nice fitment
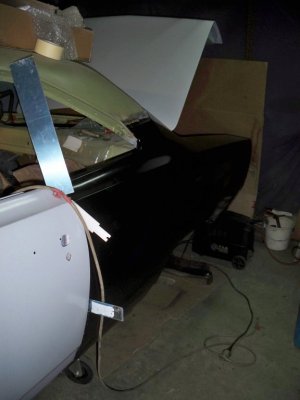
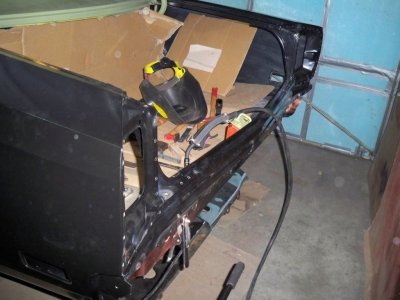
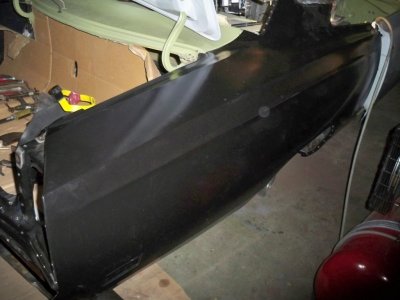
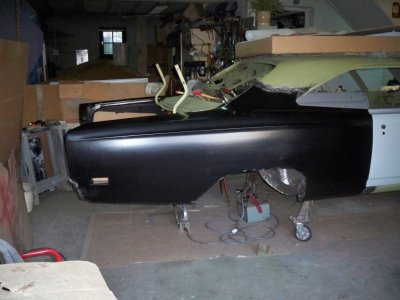
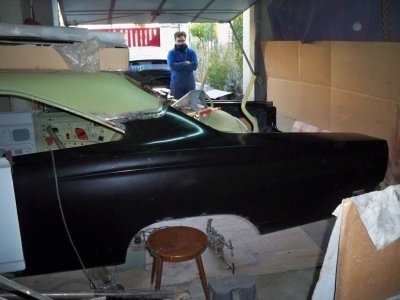
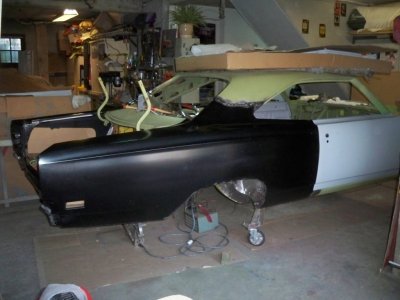
and finally we welded the quarter like that, and turned out pretty good with a nice gap and a nice fitment


Sixtynine_Bird
Well-Known Member
Sixtynine_Bird
Well-Known Member
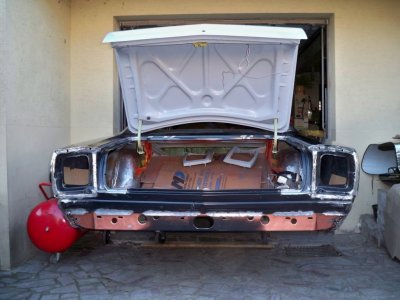
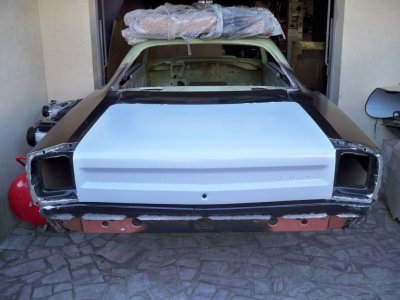
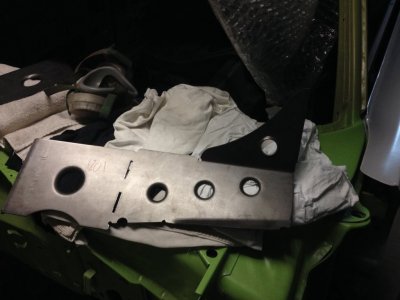
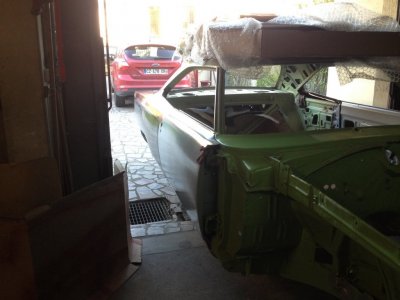
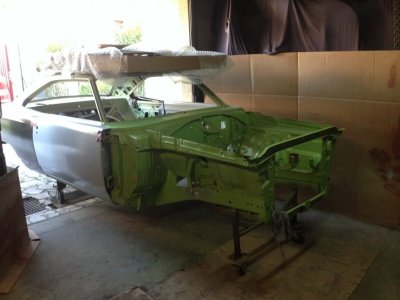
And the last pics test fiting with the trunk lid and some others. For cristmas i bought the inner fender brace from us cartool to my father.
Now the plan is to finish the body work. We have some grinding, the floors need some repairs too. We are at this time cutting and forming some new sheet metal for the floors. But we have to buy only the front section on both side of the car because there too any holes here and there so we prefer to buy some pieces.
Then once that is done, we are going to install the inner fender brace, and for torque boxe we are going to make our own and the subframe connector too. We want to put some torque arm (I guess it is called like that) to hold down the rear end, for that we've got some rods.
And that's it for now. I'll keep you posted whenever I can!
Thanks everyone!
Ps: if you have some ideas for the torque arm fixation knowing that we are keeping leaf springs, and also some ideas for a rear sway bar do not hesitate! ^^
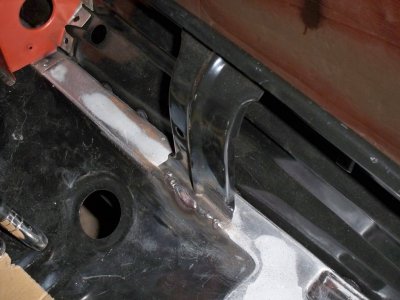
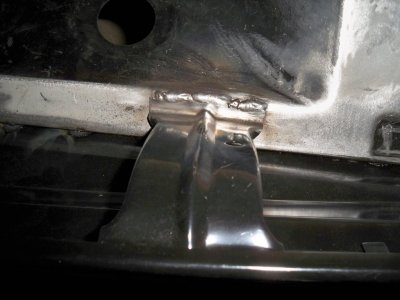


Glenwood
Well-Known Member
- Local time
- 9:57 AM
- Joined
- Jun 19, 2015
- Messages
- 2,929
- Reaction score
- 2,851
- Location
- Kawartha Lakes, Ontario
Nice work! Mopar fans all over the world...amazing.
Sixtynine_Bird
Well-Known Member
Thanks Glenwood,
Thanks Antoon, glad to meet some mopar guy here in europe.
By the way I'm working for a dutch company located in Veghel! Le monde est petit!
Thomas
Thanks Antoon, glad to meet some mopar guy here in europe.
By the way I'm working for a dutch company located in Veghel! Le monde est petit!
Thomas
threewood
Well-Known Member
Wow, some great work being done on your car! Lots of similarities with my car and the rust issues you have. Looks like it is in good hands. Is everything being welded back together with the oxy acetylene torch? I have always wanted to learn to weld that method.
Wonderful job....thanks for all the pictures.

bherman
Well-Known Member
Hi Thomas, it's nice to see that there are foreign car nuts everywhere! When I see projects like yours that require so much metal replacement, I'm always impressed by the passion and effort required to finish them. Thanks for keeping her alive, she's in great hands. Awesome job, Brian.
Sixtynine_Bird
Well-Known Member
First thanks, no everything is not being welded back together with the oxy acetylene torch, we did it only on the front, because we were heating the front to put it straight again (it was a bit twisted) and then we weld some little cracks. But the rest of the car is weld with the MIG wleder. It is always cool and interesting to watch my dad welding with the oxy acetylen torch, I only weld with the MIG.Is everything being welded back together with the oxy acetylene torch? I have always wanted to learn to weld that method.
I'll tell him that you want to learn that method, perhaps once he will be retired he could come teach you lol!
Sixtynine_Bird
Well-Known Member
Thanks for the invitation, if I have to go there I'll let you know ;)@Thomas, the World is truly small! I live in Veghel!
You can come over once and have some coffee.
Antoon
Sixtynine_Bird
Well-Known Member
Hi Thomas, it's nice to see that there are foreign car nuts everywhere! When I see projects like yours that require so much metal replacement, I'm always impressed by the passion and effort required to finish them. Thanks for keeping her alive, she's in great hands. Awesome job, Brian.
Hi Brian, thanks, that is for sure a lot of metal replacement lol
You're welcome it is a real pleasure to restore that old american myth, but I wish it was finished to enjoy it like it deserves to be enjoy! ^^ but we have to be patient and move forward step by step!
Today we start welding the passenger side floor, next week will start the driver side.
Thomas
John69Charger
Well-Known Member
wow thats to bad they previously repaired it poorly, because over all a lot of that car "looks" to be in great condition
Sixtynine_Bird
Well-Known Member
Hello guys! Long time no post! Been through a lot of thing since last time I've been posting here!
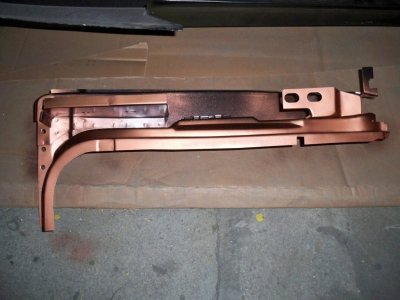
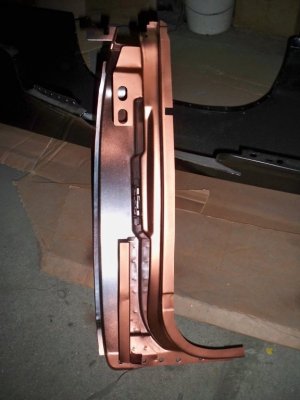
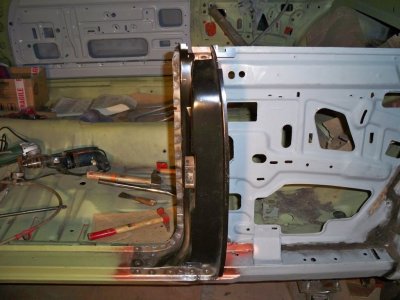
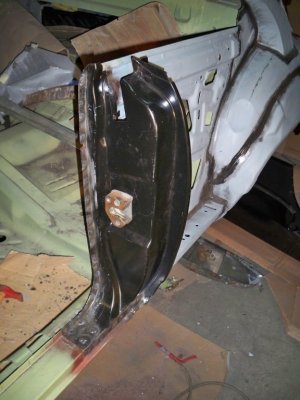
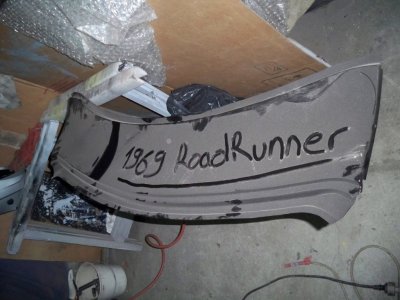
First the inner fender brace are welded.
We adjusted the taillight lenses with the quarters, wasn't an easy part.
And we did something that we are really proud of because it turned out really nice but I will be waiting on your comments for that, is that between the Dutchman panel and the quarters, you've got that little junction between them like a gutter, anyway, instead of putting some seam sealer in it, we decide to braze (I guess that is the right word) with the oxy ethylene torch in those gaps. Then with this rotating tool on the compressor we sculpted it and we've got a nice finish gutter. And now the water can flow on it without going in the trunk.
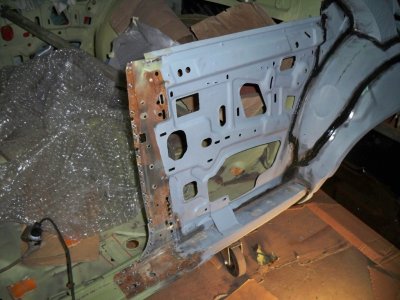
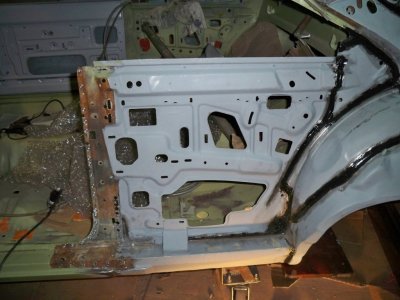
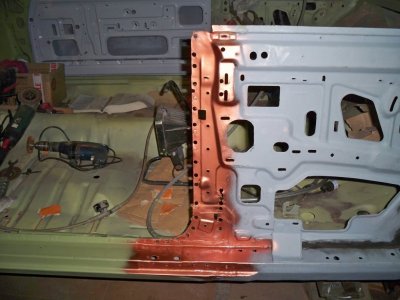
Then we went in the car, and start the floors. So we cut out the floors repaired the torsion bar crossmember on the passenger side. We cut out a piece of it then redone it with a piece of metal and welded it back. We also had to redone the reinforcement inside it. After that once the front section floor were out, it was time for us to make the front torque box. So we took a rectangular section and made a "Y" form with it. Then we welded it on the inside of the rocker and the fork of the "Y" on the frame rail. Pics will come it will be easier to understand because it is quite complicate to explain it lol
Once it was done, we fabricated our own subframe connectors as well, and I'd like to thank Bherman for his useful pics he posted of his car (the 66 resto mod street toy), because he inspired me for my conception and above all for the attachment point of the subframe co. We finally welded the whole thing up; for the driver side it was a bit longer because we had to figure it out a pass through for the e-brake cable. The subframe weren't high enough to drill it and make a hole from both side and pass the e-brake cable inside it, but it was lying on the top of the subframe and it was bending the cable. So we had to make a notch in the subframe. For tat we use a handlebar from a bicycle, cut it open in half and welded it on the subframe. So now the cable got a nice channel and it fits pretty well!
Once the subframe were in, we began the welding process of the front floor section. Tonight more welding and hope tomorrow it'll be finished.
And after that the car will be coming back from the dead! Because no more repair or body work! Wouhou! what a relief! Then just have to make the rear torque box, make some brackets for the rear sway bar, then seam sealed the whole car, and then it could go out of the house for the paint shop! hope current this summer it'll be painted.
We can finally see a sample of the light at the end of that tunnel!
I know this is a tone to read sorry about that.
Thanks for your time and I will add some pic soon!
Thomas
Sixtynine_Bird
Well-Known Member
here comes the pics! 
Lets start with the inner fender brace:


Don't have any pics when we adjusted the tailight leses but got one or two of the repairs we did on the stud :

Now lets se what I was talking about on the dutchman panel and the gaps wit the quarters :


Lets start with the inner fender brace:
Don't have any pics when we adjusted the tailight leses but got one or two of the repairs we did on the stud :
Now lets se what I was talking about on the dutchman panel and the gaps wit the quarters :
Similar threads
- Replies
- 84
- Views
- 8K


